How to Read a Knitting Chart: Easy Beginner Guide
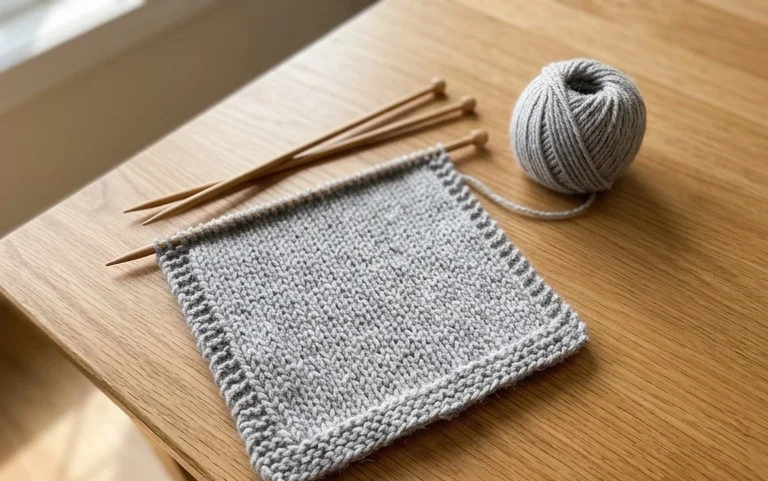
Crisp cotton coasters bring a tidy, organized finish to any side table, offering a firm surface that protects wood from condensation rings. Beginners often find these small circles rewarding because the repetitive motion builds confidence without requiring hours of labor. By mastering the magic ring and basic increases, you establish a strong foundation for future projects. This guide focuses on interpreting visual diagrams rather than following standard text instructions. You will learn to translate symbols directly into stitches, turning a grid of boxes into a tangible piece of home decor that feels sturdy and looks polished.
Why This Project Is Worth Making
This beginner-friendly classic crochet coaster set serves as an ideal introduction to working in the round. You will master the fundamental magic ring technique while practicing tension control, which is essential for creating flat, professional-looking home decor. These coasters work up quickly, requiring less than an hour for a full set of four, making them a productive use of leftover cotton yarn scraps. Because they are durable and washable, they make a thoughtful, handmade gift for housewarmings or holiday exchanges. The simple repeat ensures a relaxing rhythm for the creator, allowing you to build muscle memory without the pressure of complex stitch patterns.
I managed to finish a full set of four coasters in one evening while watching a show, and they lay perfectly flat on my coffee table without any blocking.
— Sarah, home decor enthusiast
Pattern Overview & Skill Level
- Skill Level: Beginner
- Approximate Time: 45 minutes for a set of 4
- Construction: Continuous rounds with increases to maintain a flat circle
- Finished Dimensions: 4 inches (10 cm) in diameter
Materials & Supplies Needed
- Yarn: Worsted weight (#4) 100% cotton yarn, approximately 15 yards per coaster. Cotton is chosen for its heat resistance and absorbency.
- Hook Size: 5.0 mm (H-8) crochet hook.
- Notions: Tapestry needle for weaving ends and a stitch marker to track the start of rounds.
- Safe Yarn Substitutions: Acrylic yarn can be used for decorative purposes, but it will not absorb moisture and may melt if placed under very hot mugs. Wool blends are suitable but require hand washing to prevent felting.
Stitch Guide & Abbreviations (US Terms)
- MR: Magic ring. A way to begin the round by crocheting over an adjustable loop.
- ch: Chain.
- sc: Single crochet. Insert hook into stitch, yarn over, pull up a loop, yarn over, pull through both loops on hook.
- inc: Increase. Work 2 sc in the same stitch to add count.
- sl st: Slip stitch. Insert hook, yarn over, pull through both the stitch and the loop on the hook.
- st/sts: Stitch/stitches.
Step-by-Step Pattern Instructions
Coaster Body
- Rnd 1: Start with a MR, work 6 sc into the ring. Pull the tail tight to close the center. (6 sts)
- Rnd 2: Work 2 sc in each st around. Place a stitch marker in the first st of the round to keep track. (12 sts)
- Rnd 3: *1 sc in next st, inc in next st; repeat from * around. (18 sts)
- Rnd 4: *1 sc in next 2 sts, inc in next st; repeat from * around. (24 sts)
- Rnd 5: *1 sc in next 3 sts, inc in next st; repeat from * around. (30 sts)
- Rnd 6: *1 sc in next 4 sts, inc in next st; repeat from * around. (36 sts)
Finishing
After completing Rnd 6, join with a sl st to the first sc of the round. Cut the yarn, leaving a 6-inch tail. Pull the yarn tail through the final loop on your hook to secure the knot. Use your tapestry needle to weave the remaining yarn tail into the back of the coaster stitches to hide it. Trim any excess yarn close to the fabric surface.
Care & Washing Instructions
- Machine wash on a gentle cycle in cold water with mild detergent.
- Reshape the coasters by hand while damp and lay them flat on a towel to air dry.
- Avoid using high-heat settings in a tumble dryer, as this can shrink natural cotton fibers and distort the round shape.
Pro Tips & Common Mistakes to Avoid
Maintain consistent tension throughout the project; if your stitches are too loose, the coaster may curl at the edges. Use a stitch marker at the first stitch of every round to ensure your stitch count remains accurate as you progress. To weave in your ends invisibly, run the tapestry needle through the back loops of the stitches on the underside of the coaster rather than pulling through to the front. You can adjust the final size of the coaster by adding or removing rounds, but remember that each additional round increases the required yardage and changes the coaster diameter by approximately 0.75 inches.
Frequently Asked Questions
Can I use a larger hook to make these coasters bigger?
Using a larger hook will make the stitches larger and the overall coaster size bigger, though it may also create more visible gaps between the stitches. If you prefer a larger size, it is better to add an extra round following the established increase pattern.
Is cotton yarn the best choice for this project?
Cotton is the standard recommendation because it does not stretch as much as acrylic and is highly absorbent, which is vital for protecting furniture from condensation on cold glasses.
Are these coasters appropriate for a complete beginner?
Yes, this pattern uses only single crochet stitches and basic increases, making it an ideal first project to practice reading round-based instructions.
May I sell the coasters I make from this pattern?
You are welcome to sell physical items made from this pattern, provided you credit the designer. Please note that you cannot distribute or sell the written pattern itself under any circumstances.
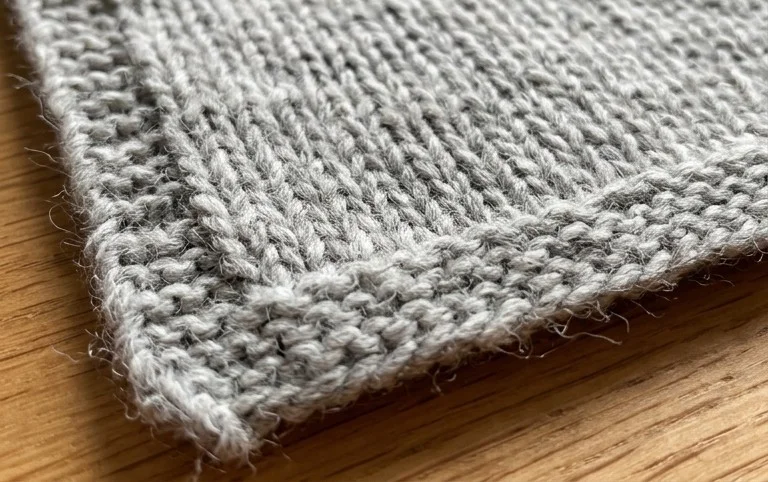
These textured circles brighten up a room and protect your surfaces with simple, clean lines. If you want to experiment, try holding two strands of thinner yarn together for a thicker, squishier coaster or use a variegated yarn for a splash of color. Post a picture of your finished set on social media so others can see your progress. I have many other free patterns available on the blog for you to explore next as you continue growing your skills.