Easy Crochet Up North Hat Free Beginner Pattern
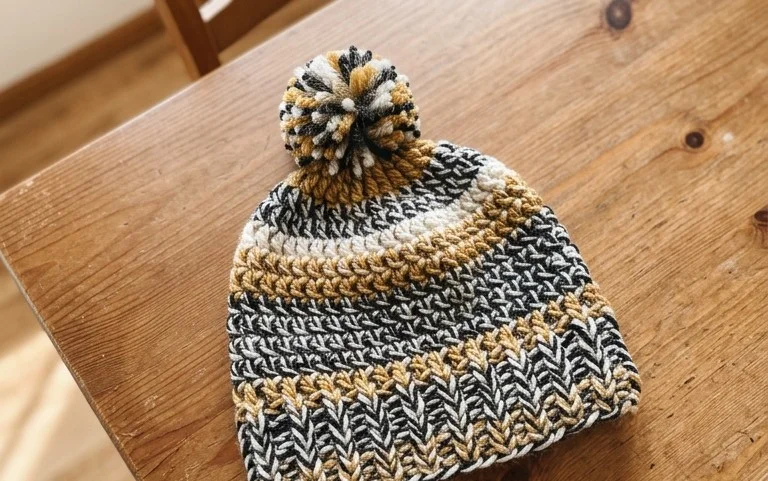
This tiny, dense hat stands just a few inches tall and feels sturdy in your hands. It serves as a charming addition to a seasonal display or as a handcrafted ornament for a gift. Beginners enjoy this project because it relies on simple single crochet stitches worked in a continuous spiral, which removes the need to join rounds or worry about visible seams. You will practice managing tension while shaping the crown through basic increases and decreases, resulting in a clean, professional finish. It represents a satisfying way to burn through cotton yarn scraps while creating something small, portable, and genuinely useful during travel or quiet evenings at home.
Why You Will Love This Pattern
This beginner-friendly project works up quickly using basic single crochet stitches, making it an ideal choice for using up leftover yarn scraps from larger blankets or garments. Because the construction is repetitive and rhythmic, you can complete the main body while relaxing in an evening or traveling. Its compact size ensures it is portable, while the final design serves as a charming gift for friends or family. Experienced crafters appreciate the straightforward nature of the pattern, as it allows for focused, stress-free crafting without the need to track complex stitch repeats or color changes.
I finished this project in a single weekend. The instructions were very easy to follow and the final result looks just like the photos.
— Sarah, hobbyist crocheter
Pattern Overview & Skill Level
- Skill Level: Beginner
- Approximate Time: 2 to 3 hours
- Construction: Amigurumi style, worked in continuous rounds with increasing and decreasing segments
- Finished Dimensions: 4 inches tall by 3 inches wide
Materials & Supplies Needed
- Yarn: Worsted weight #4, 100% cotton, approximately 30 yards for the main body and 5 yards for accents.
- Hook Size: 3.75 mm (F-5)
- Notions: Tapestry needle, locking stitch marker, polyester fiberfill stuffing, and two 6mm safety eyes.
- Yarn Substitutions: Acrylic worsted weight is a suitable alternative; however, it may result in a slightly larger or softer item compared to cotton. Ensure the hook size is adjusted to keep stitches tight enough so stuffing does not show through.
Stitch Guide & Abbreviations (US Terms)
- MR: Magic Ring
- ch: Chain
- sc: Single crochet
- inc: Increase (2 sc in the same stitch)
- dec: Decrease (sc2tog, inserting hook through the front loops of the next two stitches)
- sl st: Slip stitch
- st(s): Stitch(es)
Step-by-Step Pattern Instructions
Main Body
- Rnd 1: Start with a MR and work 6 sc into the ring. (6 sts)
- Rnd 2: Work 2 sc in each st around. (12 sts)
- Rnd 3: [Sc 1, inc] repeat 6 times. (18 sts)
- Rnd 4: [Sc 2, inc] repeat 6 times. (24 sts)
- Rnd 5-10: Sc in each st around. (24 sts)
- Rnd 11: [Sc 2, dec] repeat 6 times. (18 sts)
- Rnd 12: [Sc 1, dec] repeat 6 times. (12 sts)
- Assembly: Insert safety eyes between rounds 7 and 8, spaced 4 stitches apart. Stuff the body firmly with fiberfill.
- Rnd 13: [Dec] repeat 6 times. (6 sts)
- Closing: Fasten off, leaving a 6-inch tail. Use the tapestry needle to weave the yarn through the front loops of the remaining 6 stitches and pull tight to close the hole. Secure the end inside the body.
Care & Washing Instructions
- Hand wash the item in cool water using a mild detergent to preserve the structure of the fiberfill.
- Lay the piece flat on a clean towel to air dry, turning it occasionally to ensure even moisture evaporation.
- Reshape the item gently with your hands while damp to restore its original dimensions.
Pro Tips & Common Mistakes to Avoid
- Maintain consistent tension throughout the project; if your stitches feel loose, try dropping down one hook size to prevent the stuffing from becoming visible through the fabric.
- Always place a stitch marker at the beginning of each round to track your progress accurately, especially during the increase and decrease sequences.
- Weave in your yarn ends by pulling them through the interior of the stuffed piece several times, which hides them effectively without needing knots.
- If you choose to adjust the size of this project by adding more rounds, remember that each additional round will require significantly more yarn and will change the proportions of the final piece.
Frequently Asked Questions
Can I use a larger hook size for this pattern?
Using a larger hook will result in a larger finished item with more visible gaps between stitches. If you prefer this look, you may need more yarn than specified.
Is this project suitable for absolute beginners?
Yes, this pattern relies on basic single crochet stitches and simple shaping, making it a perfect starting point for anyone learning to crochet in the round.
Can I sell the items I make from this pattern?
You are welcome to sell finished items created from this pattern, provided you credit the designer and use your own photographs for your listings.
How do I swap out the safety eyes for a different look?
If you prefer not to use safety eyes, you can embroider the eyes using black yarn or embroidery thread before stuffing the body to ensure a secure, child-safe finish.
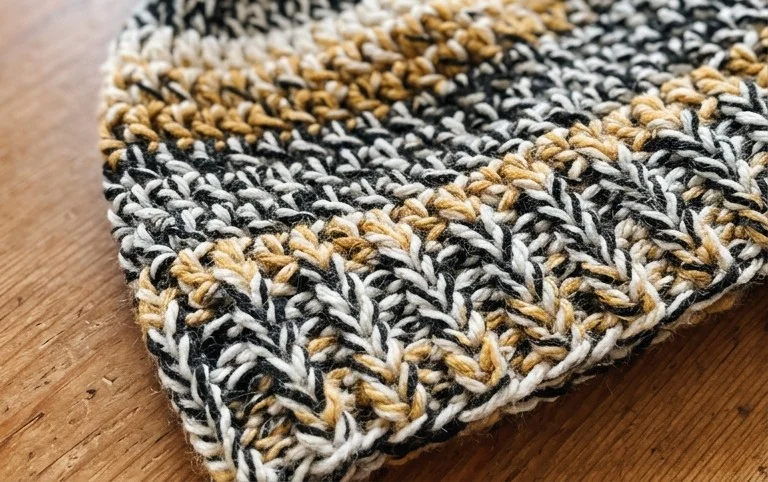
Your finished miniature hat makes a wonderful gift topper or a cheerful addition to your desk decor. Try working one in a deep variegated yarn or adding a small pompom to the top for a different look. Once you finish yours, take a photo and share it with the community on Instagram or Pinterest to show off your work. You can find more free patterns and seasonal projects by browsing the rest of the craft collection on my blog today.