Convertible Fingerless Mittens: Free Easy Crochet Pattern
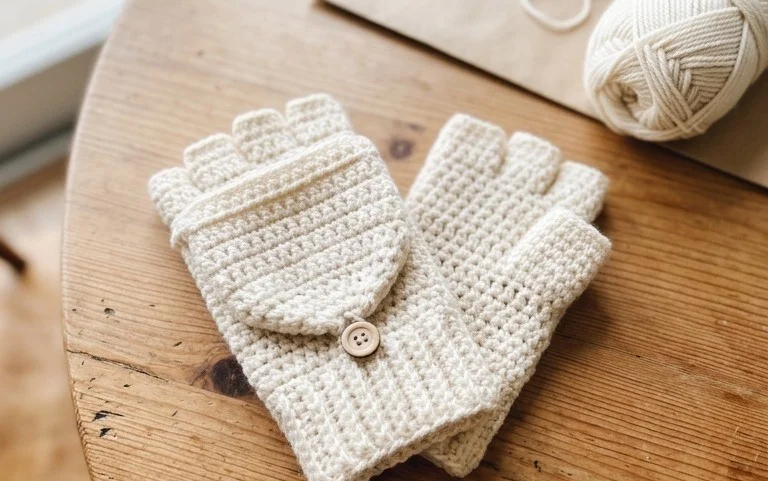
These convertible hand warmers sit snugly against your skin and provide quick access to your fingers for texting or handling small items in the cold. I designed this accessory to be flexible enough for both adults and young children, using a simple construction method that relies on basic chains and single crochets. You will find that working these rounds creates a smooth, durable fabric that keeps the wind out while remaining lightweight. It is a rewarding project for beginners because you learn how to create a fold-over flap that stays secure. I enjoy keeping a few pairs ready for chilly morning walks.
Why You’ll Love This Pattern
The Classic Crochet Granny Square is the quintessential building block for handmade blankets, bags, and garments. This project is ideal for beginners because it introduces the concept of working into chain spaces rather than individual stitches, which makes the rhythm of the work easy to memorize. You can complete a single square in about 15 minutes, making it a perfect quick-win project for using up small amounts of leftover yarn. The repeating pattern requires very little counting, allowing you to relax while your project grows row by row.
I started learning to crochet last weekend and this square was the first thing I managed to finish without having to restart. It is very satisfying to see the colors come together so quickly.
— Sarah, beginner crafter
Pattern Overview & Skill Level
- Skill Level: Beginner
- Approximate Time: 15–20 minutes per square
- Construction: Worked in rounds from the center outward, turning after each round for a balanced square
- Finished Dimensions: Approximately 5 inches square using worsted weight yarn and a 5.0 mm hook
Materials & Supplies Needed
- Yarn: Worsted weight (#4) acrylic or cotton blend, approximately 15–20 yards per square.
- Hook Size: 5.0 mm (US H-8) crochet hook.
- Notions: Tapestry needle for weaving in ends, sharp scissors.
- Yarn Substitutions: You can use DK weight yarn with a 4.0 mm hook for a smaller, more delicate square, or chunky weight yarn with a 6.0 mm hook for a larger, denser square. Keep in mind that gauge changes will affect the final size of your total project if you are joining multiple squares together.
Stitch Guide & Abbreviations (US Terms)
- ch: Chain
- dc: Double crochet
- sl st: Slip stitch
- sp: Space
- dc cluster: A group of 3 dc stitches worked into the same space
- magic ring: A circular starting method that allows you to pull the center tight
Step-by-Step Pattern Instructions
This pattern is worked in joined rounds. Always join with a slip stitch to the top of the first stitch of the round and chain 3 to begin the next round.
Rnd 1: Start with a magic ring. Ch 3 (counts as first dc), work 2 dc into the ring. Ch 2, 3 dc into ring, ch 2, 3 dc into ring, ch 2, 3 dc into ring, ch 2. Join with a sl st to the top of the beginning ch 3. (12 dc, 4 ch-2 spaces)
Rnd 2: Sl st into the first ch-2 corner space. Ch 3, 2 dc in same space, ch 2, 3 dc in same space. *Ch 1, skip next 3 dc, (3 dc, ch 2, 3 dc) in next ch-2 corner space. Repeat from * 2 more times. Ch 1, join with a sl st to the top of the beginning ch 3. (24 dc, 4 ch-2 spaces, 4 ch-1 spaces)
Rnd 3: Sl st into the next corner space. Ch 3, 2 dc in same space, ch 2, 3 dc in same space. *Ch 1, 3 dc in the next ch-1 side space, ch 1, (3 dc, ch 2, 3 dc) in next corner space. Repeat from * 2 more times. Ch 1, 3 dc in the final side space, ch 1, join with a sl st to the top of the beginning ch 3. (36 dc, 4 ch-2 spaces, 8 ch-1 spaces)
Rnd 4: Sl st into the corner space. Ch 3, 2 dc in same space, ch 2, 3 dc in same space. *Ch 1, 3 dc in each side ch-1 space across, ch 1, (3 dc, ch 2, 3 dc) in next corner space. Repeat from * 2 more times. Ch 1, 3 dc in each remaining side space, ch 1, join with a sl st to the top of the beginning ch 3. (48 dc, 4 ch-2 spaces, 12 ch-1 spaces)
Fasten off yarn and weave in all loose ends securely on the back side of the work.
Care & Washing Instructions
- Machine wash in cold water on a gentle cycle using mild detergent.
- Lay the square flat on a clean towel to air dry, reshaping it with your hands while damp.
- If the square appears slightly puckered, use a steam iron held an inch above the fabric to block it into a perfect flat shape.
Pro Tips & Common Mistakes to Avoid
- Keep your tension consistent, especially when working the ch-1 spaces, to ensure the square lies perfectly flat without bowing.
- Use a stitch marker to secure the loop of your working stitch if you need to put the project down, as granny squares can unravel if a large loop is pulled.
- Weave in your yarn tails by running them back and forth through the base of the stitches on the wrong side for at least one inch to prevent them from slipping out over time.
- To increase the size of your square, simply continue repeating the logic of Rnd 4, adding one extra cluster of 3 dc into each side ch-1 space for every additional round you work.
Frequently Asked Questions
Can I use a different weight of yarn for this pattern?
Yes, you can use any weight of yarn, but you must adjust your hook size to match the yarn manufacturer’s recommendation. Using a different weight will change the finished dimensions of your square.
Is this pattern suitable for complete beginners?
This is a great first project. The stitches are basic, and because you are crocheting into spaces, it is much easier to see where your hook should go compared to traditional stitch-by-stitch crochet.
Can I sell the finished squares I make?
You are welcome to sell physical items created from this pattern. I ask that you credit the designer by linking back to this tutorial on your product listings.
Why is my square curling into a bowl shape?
If your square is curling, your tension is likely too tight. Try going up one hook size or intentionally loosening your grip on the yarn when working the stitches, especially the double crochet clusters.
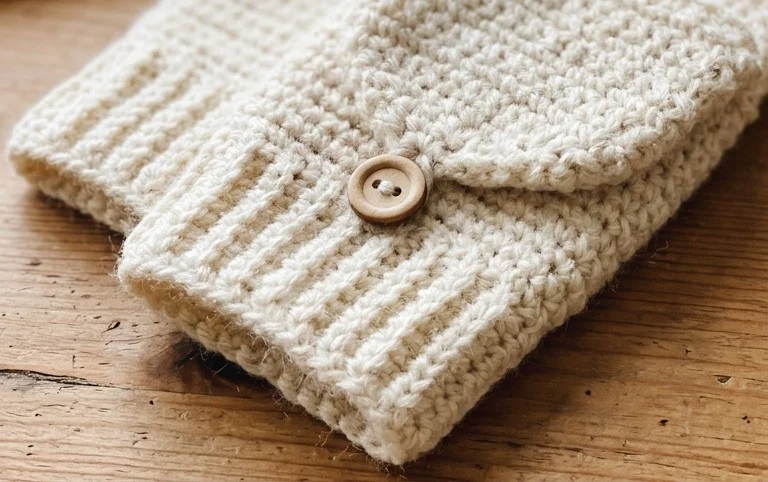
Your finished mittens should fit snugly across the palm while allowing the thumb and fingers to move freely when the top flap is secured. Try using a variegated wool yarn if you want a bolder look for the children’s sizes. Sharing a photo of your work on Pinterest or Instagram helps others find their own style inspiration for this project. Check the archives on my blog for more seasonal accessory designs that follow this same straightforward approach to garment construction and texture building.