Easy Men’s Crochet Gloves: Free Beginner Pattern Guide
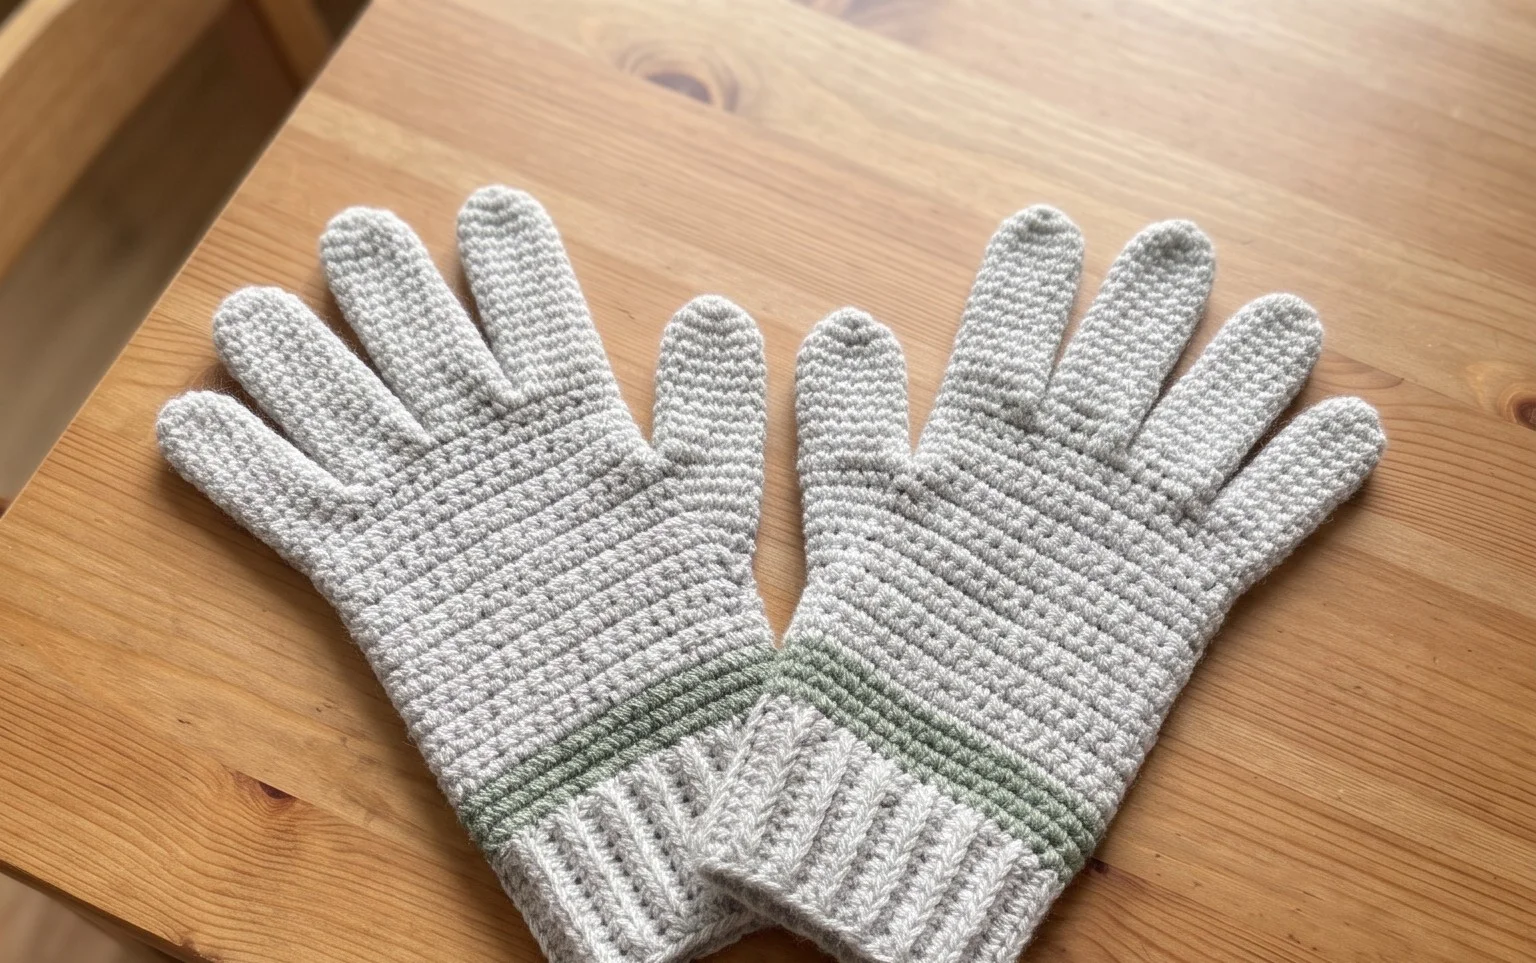
Worsted-weight yarn gives these men’s crochet gloves a warm, substantial feel, while the simple shape keeps them comfortable for everyday wear. They make a practical handmade gift for someone who works outdoors, walks the dog on chilly mornings, or wants an extra layer on the way to work. If you are new to crochet, this project gives you room to practice steady tension and keep track of your stitches without juggling a complicated stitch pattern. You’ll learn how the main fabric is worked and how the thumb opening is shaped, then finish with a pair you can adjust for a closer or looser fit. Choose a quiet neutral shade for daily use or a favorite color that makes the gloves easy to spot in a coat pocket.
Why You’ll Love This Pattern
A firm cotton crochet washcloth is useful at the sink, easy to rinse, and small enough to finish in an afternoon. This beginner pattern uses single crochet throughout, so you can focus on keeping your edges straight instead of learning several stitches at once. The plain fabric also makes a good first project for practicing even tension and counting rows.
Use one color for a simple everyday cloth or change colors between rows if you are comfortable joining new yarn. Cotton scraps can work, provided you have enough of the same weight to make a cloth that holds together evenly. The finished fabric is sturdy and absorbent, with a straightforward shape that is easy to fold and store.
The rows were easy to count, and the cotton made a useful cloth I could finish in one evening.
— Lena, beginner crocheter
Pattern Overview & Skill Level
- Skill Level: Beginner. You need to know how to chain and make a single crochet stitch.
- Approximate Time: 2–3 hours, depending on your pace and how often you stop to check your stitch count.
- Construction: The washcloth is crocheted flat in rows, then the yarn is fastened off and the ends are woven in. There is no seam or separate edging.
- Finished Dimensions & Sizing: Approximately 8.5 × 7.5 in (21.5 × 19 cm), measured after washing and drying flat. Your result may vary with tension.
Materials & Supplies Needed
- Yarn: About 75 yd (69 m) of worsted-weight cotton yarn, category #4. Choose 100% cotton for an absorbent cloth. One solid color is easiest to work with; a second color is optional.
- Hook Size: 5.0 mm / H-8 crochet hook. If your stitches are loose, try a 4.5 mm / 7 hook; if they are tight, try a 5.5 mm / I-9 hook.
- Notions: Tapestry needle for weaving in ends, scissors, and a ruler or measuring tape.
- Substitutions: A cotton or cotton-bamboo blend of similar worsted weight can replace 100% cotton. Bamboo blends may feel softer and drape more, while cotton usually makes a firmer cloth. Acrylic yarn is less absorbent and can feel different when wet, so it is not the first choice for a dish or washcloth. A different yarn weight will change the finished dimensions and may require a different hook.
Stitch Guide & Abbreviations (US Terms)
- ch: Chain.
- sc: Single crochet. Insert the hook into the stitch, yarn over and pull up a loop, yarn over again and pull through both loops on the hook.
- st: Stitch.
- sts: Stitches.
The turning chain at the beginning of each row does not count as a stitch. Work the first single crochet into the first stitch of the previous row, not into the turning chain.
Step-by-Step Pattern Instructions
Washcloth
Use the 5.0 mm hook and worsted-weight cotton. Keep your stitches relaxed enough to insert the hook easily, but avoid loose gaps that could catch on fingers or utensils.
- Foundation: Ch 31. The extra chain provides the turning chain; it is not counted as a stitch.
- Row 1: Sc in the second ch from the hook and in each ch across. Turn. (30 sts)
- Row 2: Ch 1, sc in each st across. Turn. (30 sts)
- Rows 3–10: Ch 1, sc in each st across. Turn at the end of each row. (30 sts each row)
- Rows 11–20: Ch 1, sc in each st across. Turn at the end of each row. (30 sts each row)
- Rows 21–30: Ch 1, sc in each st across. Turn at the end of each row. (30 sts each row)
After Row 30, fasten off, leaving a tail of about 6 in (15 cm). Pull the yarn through the final loop to secure it. Thread the tail onto a tapestry needle and weave it through several stitches on the back of the cloth. Change direction once, then trim the remaining end. Weave in the starting tail the same way.
For a consistent rectangle, check the stitch count at the end of a few rows as you work. If the cloth narrows, you may have missed the first or last stitch. If it widens, you may have worked into the turning chain. The finished cloth can be gently washed and laid flat to dry before use.
Care & Washing Instructions
- Wash cotton in warm water, up to 40°C (104°F), with similar colors; check the yarn label if you used a blend.
- Reshape the cloth and dry it flat, especially after the first wash, to help it keep a square shape.
- If the edges curl, lightly wet the cloth and pin it to its finished measurements until dry; avoid stretching the stitches.
Pro Tips & Common Mistakes to Avoid
- Keep your tension steady across each row. If the first rows feel stiff, loosen your grip slightly rather than forcing the hook through tight stitches.
- Count the 30 stitches at the end of early rows. The turning chain does not count, so work into the first actual stitch and stop at the last actual stitch.
- Use a tapestry needle to weave each yarn tail through the backs of several stitches. Changing direction helps the ends stay put through repeated washing.
- To make a larger cloth, add chains in the foundation and work more rows, keeping the width and length similar. Every extra stitch and row uses more yarn; buy extra if you are increasing both dimensions.
Frequently Asked Questions
Can I use a different kind of yarn?
Yes. Cotton or a cotton blend is the most practical choice because it absorbs water and tolerates frequent washing. A different fiber or yarn weight can change the cloth’s feel, absorbency, and finished size, so make a small swatch first if you are unsure.
How can I make the washcloth wider or longer?
For more width, add chains to the foundation, then single crochet into every chain as written. For more length, add rows after Row 30. Keep the number of stitches even across each row, and expect the larger cloth to need more yarn and take longer to finish.
Is this pattern suitable for a first crochet project?
Yes. It uses only chains and single crochet, and every row has the same stitch count. The main thing to watch is the first and last stitch of each row, where beginners sometimes add or drop a stitch.
May I sell washcloths made from this pattern?
Check the designer’s terms for any rules about selling finished items or sharing the pattern. If you sell your work, describe the yarn and care instructions accurately, and do not present the written pattern as your own.
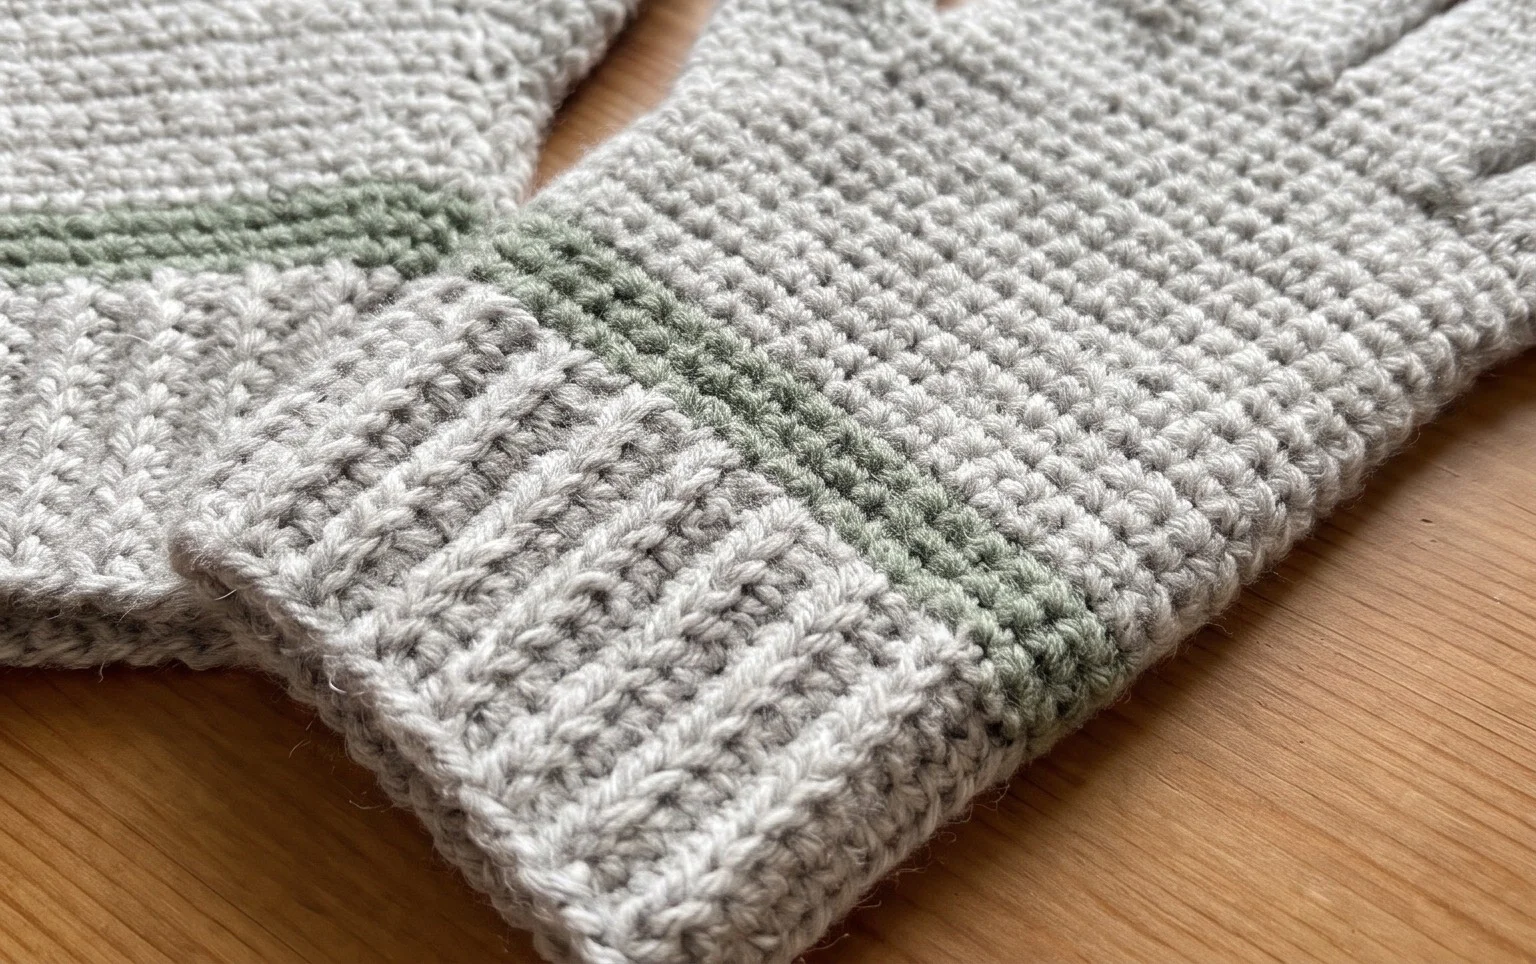
Once the last end is woven in, you’ll have a useful pair of handmade gloves with a comfortable fit and a texture that feels warm in your hands. For a simple variation, choose a different yarn color, or work a slightly longer cuff to cover more of the wrist. Take a photo of your finished pair in natural light and share it on Pinterest or your favorite social media account; a close-up of the stitches can help other crocheters see the texture. If you enjoyed making these, explore more free crochet patterns on the blog for practical projects to wear, give, or keep close by. A matching hat or scarf can make a thoughtful set.