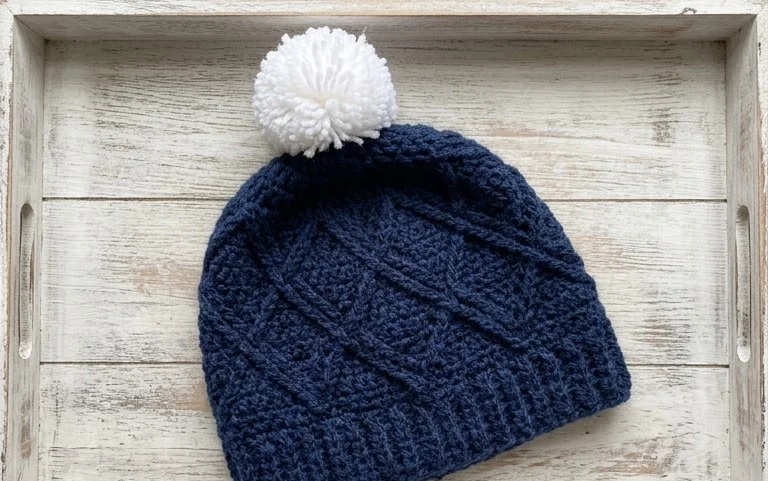
41 Easy Beanie Crochet Patterns for Cozy Winter Hats
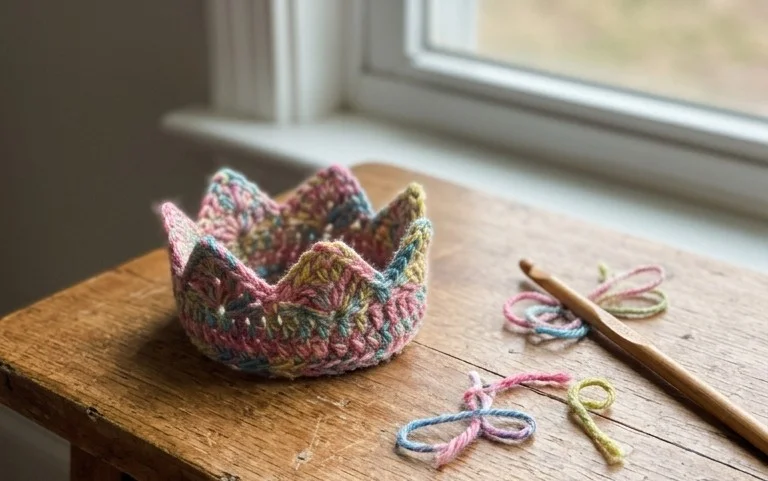
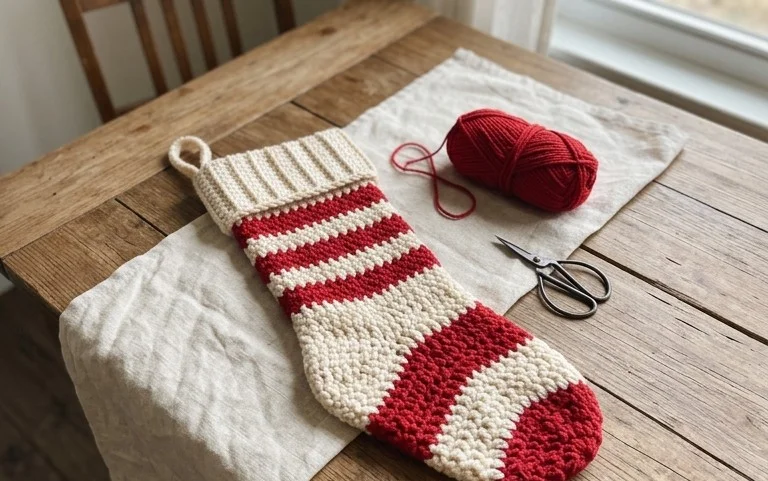
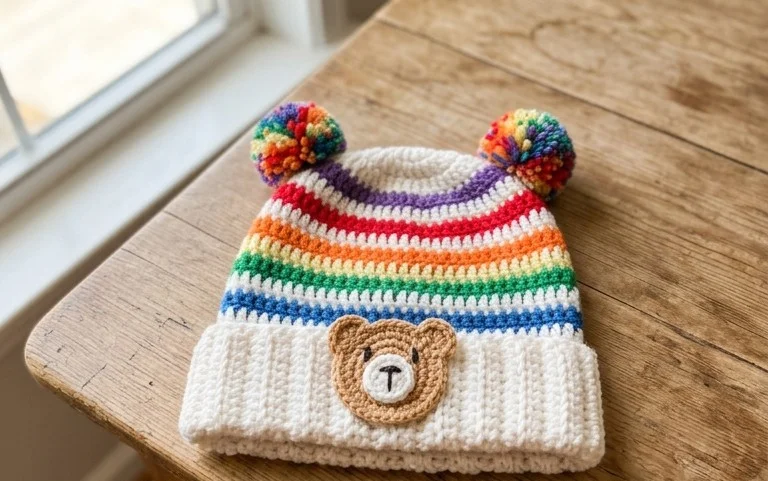
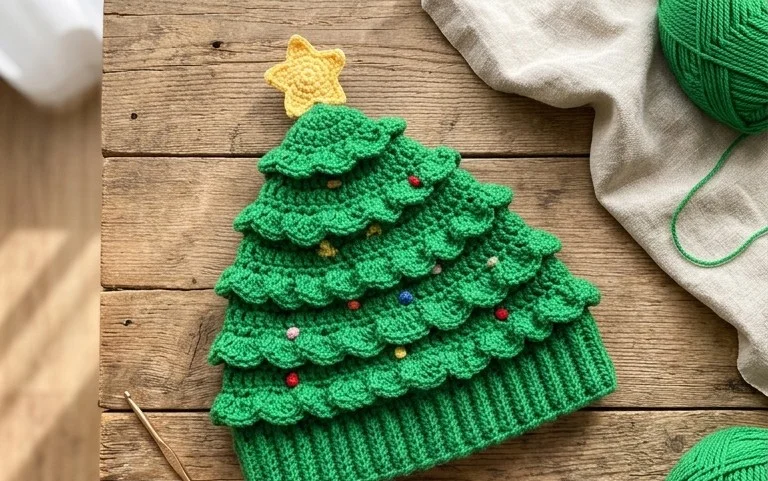
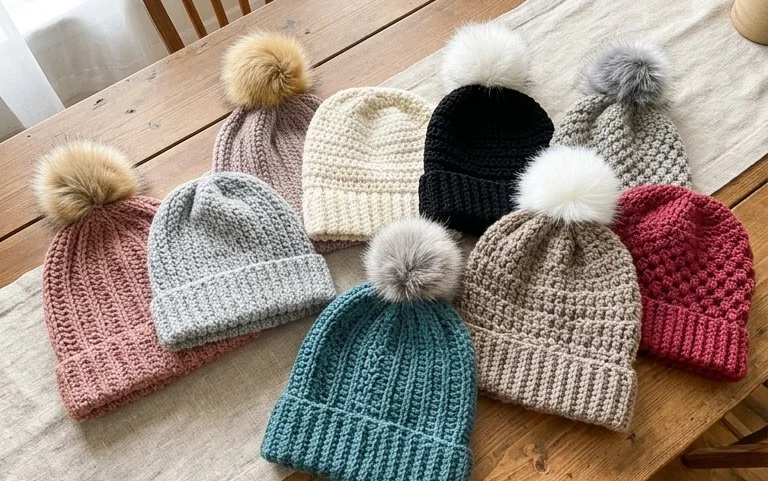
A crocheted beanie with a stretchy ribbed brim and a close-fitting crown is warm to wear and satisfying to finish. This collection brings together 41 quick winter hat patterns, from simple designs for a first wearable project to textured styles that make thoughtful handmade gifts. Beginners can look for patterns that use familiar stitches and straightforward shaping, while more experienced crocheters can pick up a new brim or crown technique. Many beanies work well in soft worsted or bulky yarn, so you can choose a cozy feel and finish in a few relaxed sessions. As you browse, you’ll find guidance on stitches such as single crochet, half double crochet, and post stitches, plus tips for working ribbing and shaping the crown. Pick a favorite color, check the suggested size, and settle in with a project you can wear as soon as the weather turns cold.
Why You’ll Love This Pattern
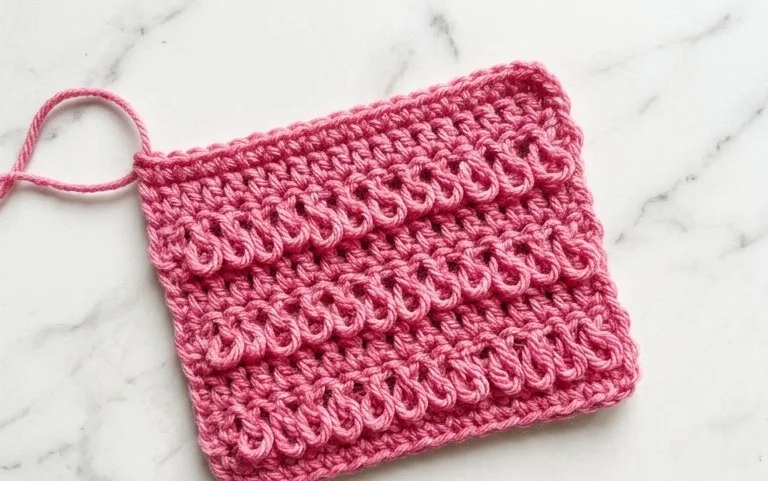
A smooth cotton dishcloth is useful at the sink, and its simple rows make this a comfortable first project for practicing even single crochet stitches. This beginner-friendly pattern uses one yarn color and a repeating stitch, so you can work it while keeping track of just 30 stitches per row.
- The square shape comes from working flat, with no shaping or seams to assemble.
- One ball of worsted cotton is usually enough, making this a handy project for using leftover yarn.
- The dense fabric is absorbent and sturdy enough for everyday kitchen use.
- It makes a practical handmade gift that is easy to finish in a few evenings.
The rows were easy to count, and the finished cloth feels sturdy without being too thick. I made one in an evening.
— Maya, beginner crocheter
Pattern Overview & Skill Level
- Skill Level: Beginner. You need to know how to chain and make single crochet stitches.
- Approximate Time: 2–3 hours, depending on your pace and tension.
- Construction: Worked flat in back-and-forth rows, then finished by weaving in the two yarn ends. The cloth has no separate border.
- Finished Dimensions & Sizing: Approximately 7.5 × 7.5 in (19 × 19 cm) after washing and drying flat. Small differences in tension will change the final size.
Materials & Supplies Needed
- Yarn: About 75–90 yd (69–82 m) of worsted-weight (#4) 100% cotton yarn in one color. Cotton is absorbent and holds up well to frequent washing.
- Hook Size: 5.0 mm / H-8 crochet hook. Use the hook that gives you the gauge below; a smaller hook makes firmer fabric, while a larger hook makes a looser cloth.
- Notions: Scissors and a tapestry needle for weaving in the ends. A ruler or tape measure helps you check gauge.
- Substitutions: A cotton-linen or cotton-bamboo blend can work, though the cloth may drape more and feel less firm. Acrylic yarn is less absorbent, so it is not the best choice for a dishcloth. Different yarn weights will change the finished size and yardage; make a gauge swatch before starting.
Gauge: 16 single crochet stitches and 18 rows measure 4 in (10 cm) in pattern. To check, crochet a swatch at least 4 in wide, then measure across its center. If you have more stitches per 4 in, try a larger hook. If you have fewer, try a smaller hook.
Stitch Guide & Abbreviations (US Terms)
- ch = chain.
- sc = single crochet. Insert the hook into the indicated stitch, yarn over and pull up a loop, yarn over again, then pull through both loops on the hook.
- st = stitch.
- sts = stitches.
The turning chain at the start of each row does not count as a stitch. Work the first single crochet into the first stitch of the row, not into the turning chain.
Step-by-Step Pattern Instructions
Dishcloth
- Foundation: Make a slip knot and ch 31. This starting chain gives you 30 stitches to work into. Take care not to pull the chains tight, or the lower edge may be narrower than the rest of the cloth.
- Row 1: Sc in the second ch from the hook and in each ch across. Turn. (30 sts)
- Rows 2–34: Ch 1, sc in each st across, then turn. Keep the turning chain out of the stitch count. (30 sts each row)
- Finish: After Row 34, fasten off, leaving a tail of about 6 in (15 cm). Pull the tail through the loop on your hook. Thread it onto a tapestry needle and weave it through several stitches on the wrong side, changing direction once so it is less likely to work loose. Weave in the foundation tail the same way.
Measure the cloth before washing. At the stated gauge, 30 stitches should be about 7.5 in wide, and 34 rows should be close to 7.5 in tall. A small difference is normal; use the same hook and tension throughout so the sides stay straight.
Care & Washing Instructions
- Wash cotton dishcloths in a machine with warm water, up to 40°C (104°F), or follow the yarn label if it gives a lower limit.
- Dry flat for the neatest shape; if using a dryer, choose a low setting and check the care label first.
- While damp, smooth the edges and reshape the cloth to its original square dimensions; block only if needed.
Pro Tips & Common Mistakes to Avoid
- Keep the edges even: Make the turning chain the same height each time and work the first sc into the first stitch. Missing that stitch can make the cloth narrower row by row.
- Count every row: Check for 30 stitches before turning. If you tend to lose your place, put a stitch marker in the first stitch of each row and move it as you work.
- Hide ends securely: Weave each tail through the back of several stitches, then change direction. Avoid cutting the tail close to the fabric before checking that it stays put.
- Adjust size with care: To make a wider cloth, add an even number of foundation chains and work one fewer sc than the chain count. Add rows for extra length. A larger cloth uses more yarn, so allow extra yardage rather than relying on the estimate for this size.
Frequently Asked Questions
Can I use a different yarn fiber?
Yes. Cotton is the most practical choice because it absorbs water and can handle regular washing. A cotton blend can make a softer or drapier cloth. Acrylic is less absorbent, and a different fiber may need a different washing method, so check its yarn label.
How can I make the dishcloth smaller or larger?
For a narrower or wider cloth, change the foundation chain while keeping one fewer single crochet than the number of chains. For a shorter or longer cloth, work fewer or more rows. Check the measurements as you go, and expect a larger cloth to use more yarn.
Is this pattern suitable for a first crochet project?
Yes, if you can make a chain and single crochet. The main challenge is keeping the first and last stitches of each row easy to see. Count 30 stitches after every row until the edges feel predictable.
Can I sell dishcloths made from this pattern?
You can sell your finished work if the designer’s terms allow it. Check those terms before listing the cloth, and write your own product description and photographs rather than copying another designer’s materials.
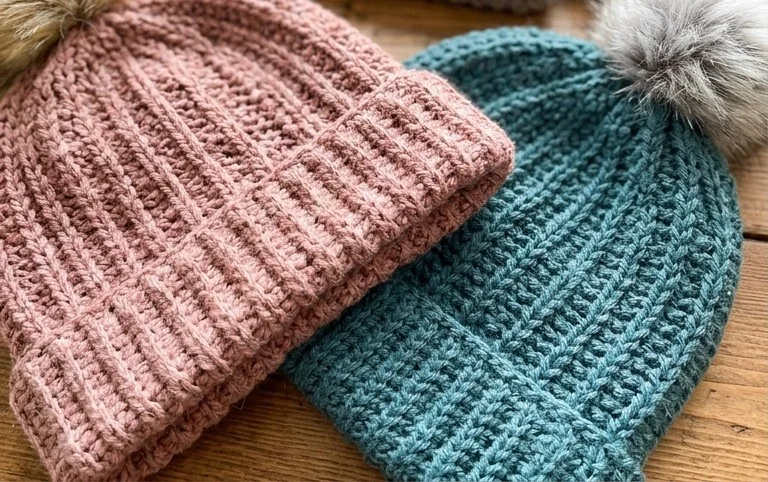
Finishing a beanie means you have a warm, wearable project ready for the next cold morning, and a handmade gift that fits easily into a winter wardrobe. For a simple variation, use a contrasting color for the ribbed brim while keeping the body in one shade; changing to a softer or bulkier yarn can also shift the feel, so check the pattern gauge before you begin. If you make one of these hats, share a photo on Pinterest or your favorite social media platform and mention the yarn and size you chose. Then browse the blog for more free crochet patterns, including other quick projects you can work on between larger makes.