Easy Squishy Crochet Throw Blanket: Free Step-by-Step Pattern
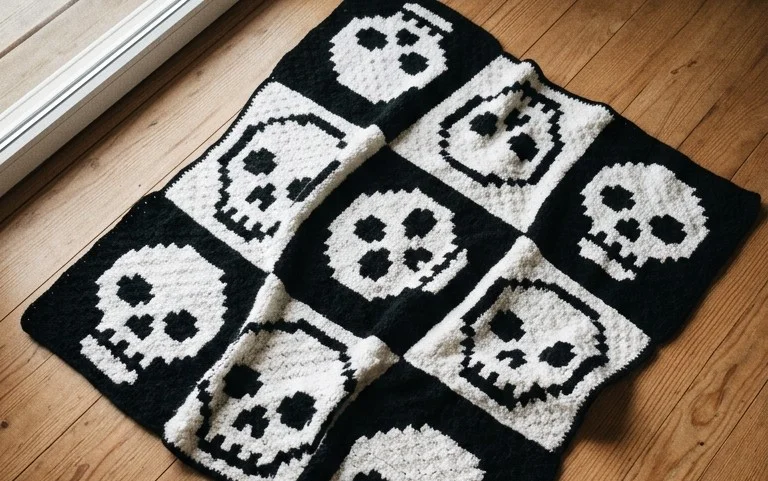
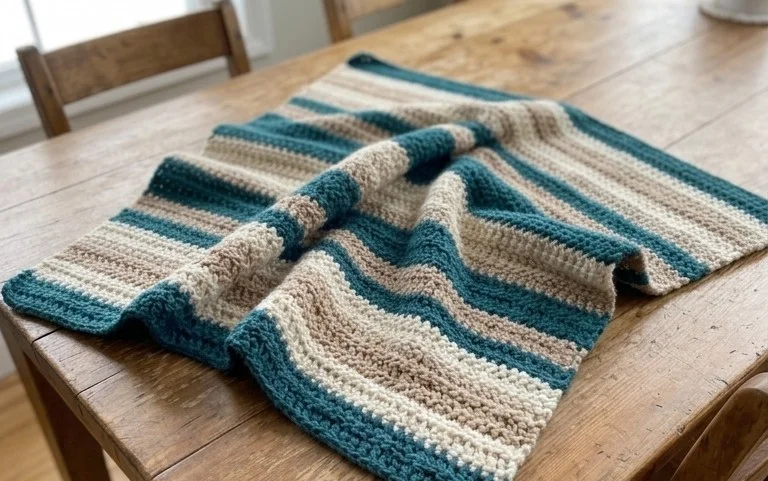
This heavy, thick blanket feels like a warm embrace on a chilly evening spent reading on the sofa. Its plush, cloud-like texture comes from a repeating stitch pattern that builds volume quickly, making it a soothing project for your hands after a long day. Whether you are a beginner looking to master your tension or a pro needing a fast, low-stress weekend make, this design offers consistent rhythm. You will learn to work a foundational stitch combination that creates a squishy, dense fabric with minimal effort. It is the kind of project that keeps your lap warm while you work, turning yarn into a cozy household staple.
Why You’ll Love This Pattern
This classic crochet beanie uses a simple texture created by alternating front and back post stitches, which makes the fabric both stretchy and thick enough for cold weather. The design relies on a basic rectangle worked in rows and then seamed into a tube, making it an ideal choice for those who are new to garment construction. Because it works up quickly in worsted weight yarn, you can complete an entire hat in a single afternoon. This makes it a reliable choice for last-minute gifts or for building a handmade winter wardrobe without a massive time investment.
I managed to finish this hat in just a few hours. The post stitches were easier to learn than I expected and the result is very professional.
— Sarah, beginner crocheter
Pattern Overview & Skill Level
- Skill Level: Advanced Beginner
- Approximate Time: 3 to 4 hours
- Construction: Flat panel worked in rows, seamed to form a tube, and gathered at the crown
- Finished Dimensions: 18 inches circumference (stretches to 22 inches), 9 inches tall
Materials & Supplies Needed
- Yarn: Worsted weight (#4) wool or acrylic blend, approximately 200 yards.
- Hook Size: 5.0 mm (H-8).
- Notions: Yarn needle for weaving ends, stitch markers to keep track of the row count, and a pom-pom maker if desired.
- Safe Yarn Substitutions: Cotton yarn will result in a heavier, less stretchy hat. Acrylic or wool-blend yarns provide the necessary elasticity for a snug fit.
Stitch Guide & Abbreviations (US Terms)
- ch: chain
- st(s): stitch(es)
- dc: double crochet
- FPdc: front post double crochet (yarn over, insert hook from front to back to front around the post of the stitch below, pull up a loop, complete as a standard dc)
- BPdc: back post double crochet (yarn over, insert hook from back to front to back around the post of the stitch below, pull up a loop, complete as a standard dc)
- sl st: slip stitch
Step-by-Step Pattern Instructions
Main Hat Panel
- Row 1: Ch 45. Dc in 4th ch from hook and in each ch across. Turn. (42 sts + turning ch)
- Row 2: Ch 3 (counts as first dc throughout). *FPdc around next st, BPdc around next st. Repeat from * across. Dc in last st. Turn. (42 sts)
- Row 3: Ch 3. *BPdc around next st, FPdc around next st. Repeat from * across. Dc in last st. Turn. (42 sts)
- Rows 4–40: Repeat Rows 2 and 3 until the piece measures 18 inches in length.
Finishing and Assembly
- Fasten off, leaving a 20-inch tail for seaming.
- Fold the rectangle in half so the short edges meet.
- Using the tapestry needle and the long yarn tail, mattress stitch the two short edges together to form a tube.
- At the top edge of the tube, weave the yarn through the top of the stitches in every other row.
- Pull the yarn tight to cinch the top of the hat closed.
- Secure the yarn with a knot and weave in all loose ends.
Care & Washing Instructions
- Hand wash in cool water using a mild wool-safe detergent.
- Lay the hat flat on a clean towel to air dry, reshaping it while damp to ensure it maintains its form.
- Do not wring or twist the fabric, as this can stretch the post stitches and ruin the elasticity of the brim.
Pro Tips & Common Mistakes to Avoid
Maintain consistent tension throughout the project, especially when working post stitches, as they can pull tight and shrink the width of your hat. Always use a stitch marker on the first stitch of every row to ensure you do not accidentally drop stitches at the edges, which would lead to a lopsided seam. When weaving in your ends, run the needle through the stitches in multiple directions to lock the yarn securely in place. If you want to adjust the size, add or subtract stitches in multiples of two; remember that increasing the width will require more yarn than the 200 yards specified.
Frequently Asked Questions
Can I use a larger hook size for this pattern?
Using a larger hook will make the fabric airier and less dense, but it will also increase the finished dimensions. If you increase the hook size, you should check your gauge to see if you need to remove rows to fit your head size.
Is this project suitable for a complete beginner?
If you are comfortable with basic double crochet stitches, you can learn the post stitches quickly. This is an excellent project for someone looking to move beyond basic flat squares.
How do I adjust this hat for a larger head size?
Simply add more foundation chains in multiples of two. Keep in mind that every additional inch of width will require approximately 15 to 20 extra yards of yarn.
Can I sell items made from this pattern?
You are welcome to sell finished products made from this pattern, provided you credit the original design and use your own photographs for the listings.
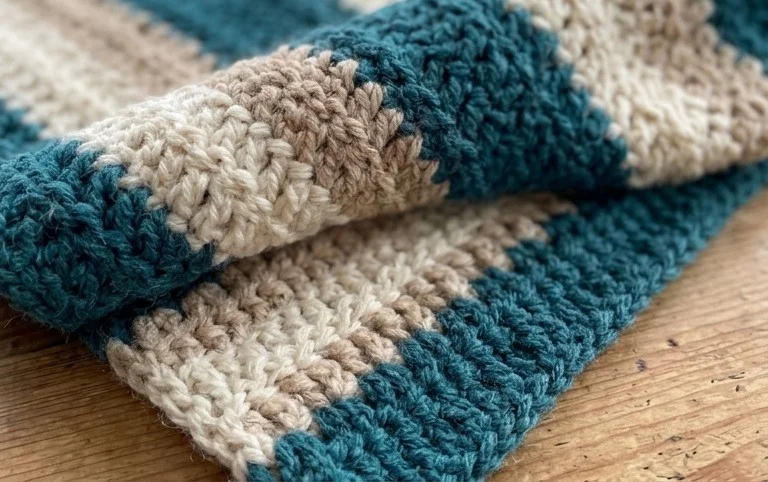
Your finished project provides a comforting weight for your living room couch and lasts for many years with basic care. For a different aesthetic, try alternating two contrasting colors every four rows or switch to a chunky velvet yarn for extra softness. I love seeing how these designs turn out, so please share a photo of your progress on social media. You can find more free patterns and project ideas by browsing the archives on the blog whenever you feel like starting your next handmade endeavor.