Easy Beginner Beanie Crochet Free Pattern Step-by-Step
This cozy beanie has a dense, squishy texture that feels soft against the skin, making it a reliable companion for chilly morning walks or drafty evenings indoors. It suits beginners who want to move past basic squares and craft something truly wearable without the stress of complex shaping. You will finish this project in just a few hours, leaving you with a warm hat that rivals store-bought styles. Throughout this project, you will master the half double crochet stitch worked into the back loop only, a foundational skill that transforms simple yarn into a durable, ribbed fabric.
Why You’ll Love This Pattern
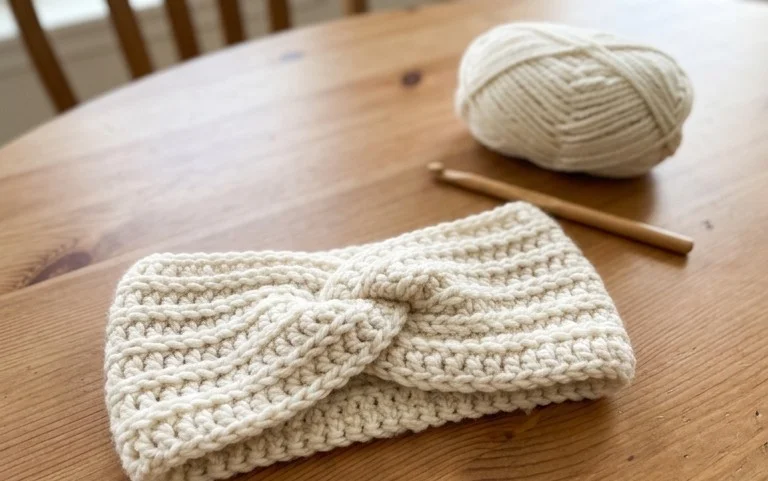
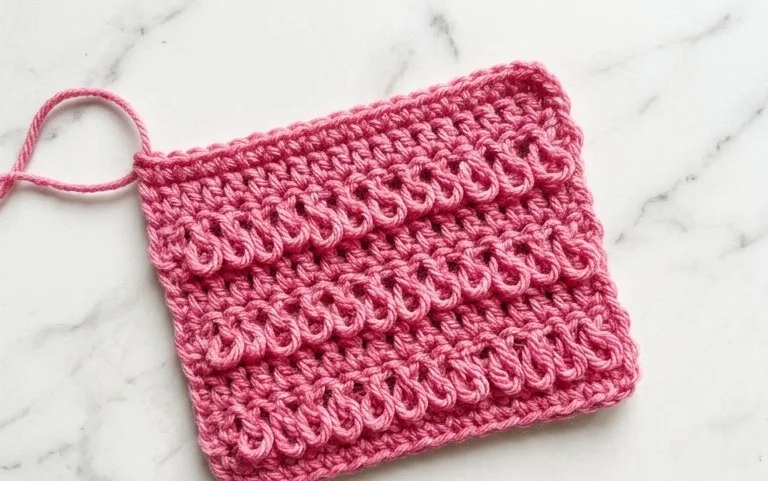
This classic crochet beanie works up quickly using a simple ribbed construction that creates a stretchy, comfortable fit. The pattern relies entirely on half double crochet stitches worked in the back loop only, which gives the fabric a knit-like texture that is both durable and stylish. It is an ideal project for using up a single skein of leftover worsted weight yarn while practicing your tension consistency. Because the hat is worked as a flat rectangle before being seamed into a tube, it removes the complexity of crown shaping, making it a stress-free choice for makers of all levels.
I finished this hat in one evening while watching a movie. The texture is thick enough to keep my ears warm, and it fits perfectly without being too tight around the forehead.
— Sarah, hobbyist crocheter
Pattern Overview & Skill Level
- Skill Level: Beginner
- Approximate Time: 2–3 hours
- Construction: Worked flat in rows to create a rectangular panel, then folded and seamed to form a tube with a cinched top.
- Finished Dimensions & Sizing: Adult Medium (fits heads 21–23 inches in circumference).
Materials & Supplies Needed
- Yarn: Worsted weight #4, approximately 200 yards of wool or acrylic blend.
- Hook Size: 5.5 mm / I-9.
- Notions: Yarn needle for weaving in ends and seaming, stitch markers to track row ends, and a pair of sharp scissors.
- Safe Yarn Substitutions: Acrylic blends provide the best stretch and durability for frequent wear. Cotton yarn is heavier and will lack the natural elasticity required for a snug beanie fit, which may lead to the hat sliding off during use.
Stitch Guide & Abbreviations (US Terms)
- ch: Chain
- hdc: Half double crochet
- BLO: Back loop only (inserting your hook only into the back loop of the stitch from the previous row)
- st/sts: Stitch/stitches
- sl st: Slip stitch
Step-by-Step Pattern Instructions
Main Hat Panel
- Row 1: Ch 46. Work 1 hdc in the second ch from the hook and in each ch across. Turn. (45 sts)
- Row 2: Ch 1, hdc in BLO of each st across to the end. Turn. (45 sts)
- Rows 3–60: Repeat Row 2 until the piece measures approximately 18 inches in length when laid flat. This length ensures the hat can be folded into a brim if desired.
Assembly and Finishing
- Fold the rectangle in half so that the short ends meet.
- Using a yarn needle and the tail left from your foundation chain, sl st or whip stitch the two short edges together to form a tube.
- Turn the tube inside out so the seam is hidden on the interior.
- Thread a long piece of yarn onto your needle and weave it in and out of the stitches along the top edge of the tube.
- Pull the yarn tight to cinch the top of the hat closed, securing it with a sturdy knot.
- Weave in all remaining yarn tails securely to prevent the hat from unraveling during regular use.
Care & Washing Instructions
- Hand wash the finished beanie in cool water with a gentle wool-safe detergent to maintain fiber integrity.
- Lay the item flat on a dry towel away from direct sunlight to prevent stretching or color fading.
- Reshape the hat while damp if the ribbed fabric appears uneven or distorted after washing.
Pro Tips & Common Mistakes to Avoid
Maintain consistent tension throughout the project by keeping your hook size steady; if your stitches feel too loose, the hat will lose its shape quickly. Use a stitch marker at the end of every row to ensure you are not accidentally dropping stitches, which often happens when crocheting the final hdc of a row. When weaving in your ends, run the needle through the stitches in multiple directions to lock the yarn in place, which prevents the seam from popping open under tension. If you want a slouchier fit, simply add 5 to 10 additional rows to the panel, noting that this will require an extra 20–30 yards of yarn.
Frequently Asked Questions
Can I use a different yarn weight for this pattern?
Using a different weight will significantly alter the finished size and drape. If you use a lighter weight, you will need to add more chains to the foundation and more rows to achieve the same dimensions.
Is this pattern suitable for complete beginners?
Yes, this is an excellent project for beginners because it uses only one type of stitch and requires no complex counting or increases after the initial chain.
Can I sell the hats I make from this pattern?
You are welcome to sell finished items made from this design, provided you credit the original pattern source. Always check the specific usage terms provided by the designer for any limitations on mass production.
How do I adjust the size if the hat is too small?
To increase the circumference, add more stitches to your foundation chain in multiples of two. To adjust the length, simply add or subtract rows until the panel reaches your preferred measurement.
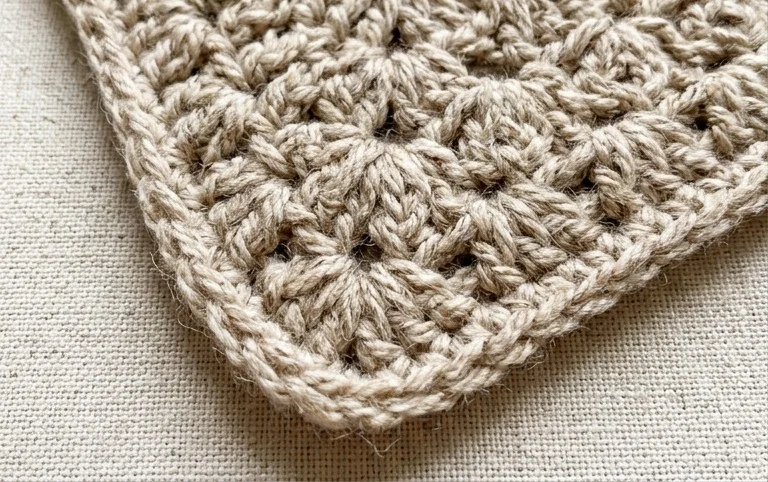
Your finished hat serves as a reliable, handmade staple that will keep you warm for many seasons. For a slightly slouchier fit, simply add ten more chains to your starting row or experiment with a variegated wool yarn for a bold, colorful look. Sharing your progress helps others see how this design comes to life, so feel free to tag your photos online. You can find more free patterns and seasonal projects in the main archive on our blog for your next afternoon hobby session.