Easy Wearable Crochet Horns: Free Step-by-Step Pattern
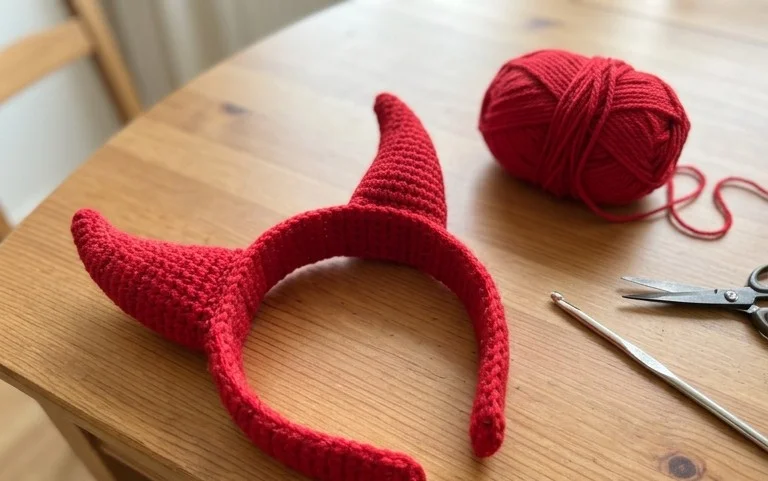
Two curved crochet horns can turn a plain headband into a bold costume accessory, with soft yarn giving each point a light, comfortable feel. This project suits beginner crocheters who know basic stitches, as well as gift makers putting together a playful handmade present for a costume party, cosplay outfit, or Halloween look. The horns are worked in the round, shaped with increases and decreases, then lightly stuffed so they hold their form without feeling heavy. You’ll learn how to build a tapered shape, keep the stuffing even, and attach each piece securely to a headband. The small pieces are easy to carry along, and finishing a pair gives you a useful chance to practice shaping without committing to a large project.
Why You’ll Love This Pattern
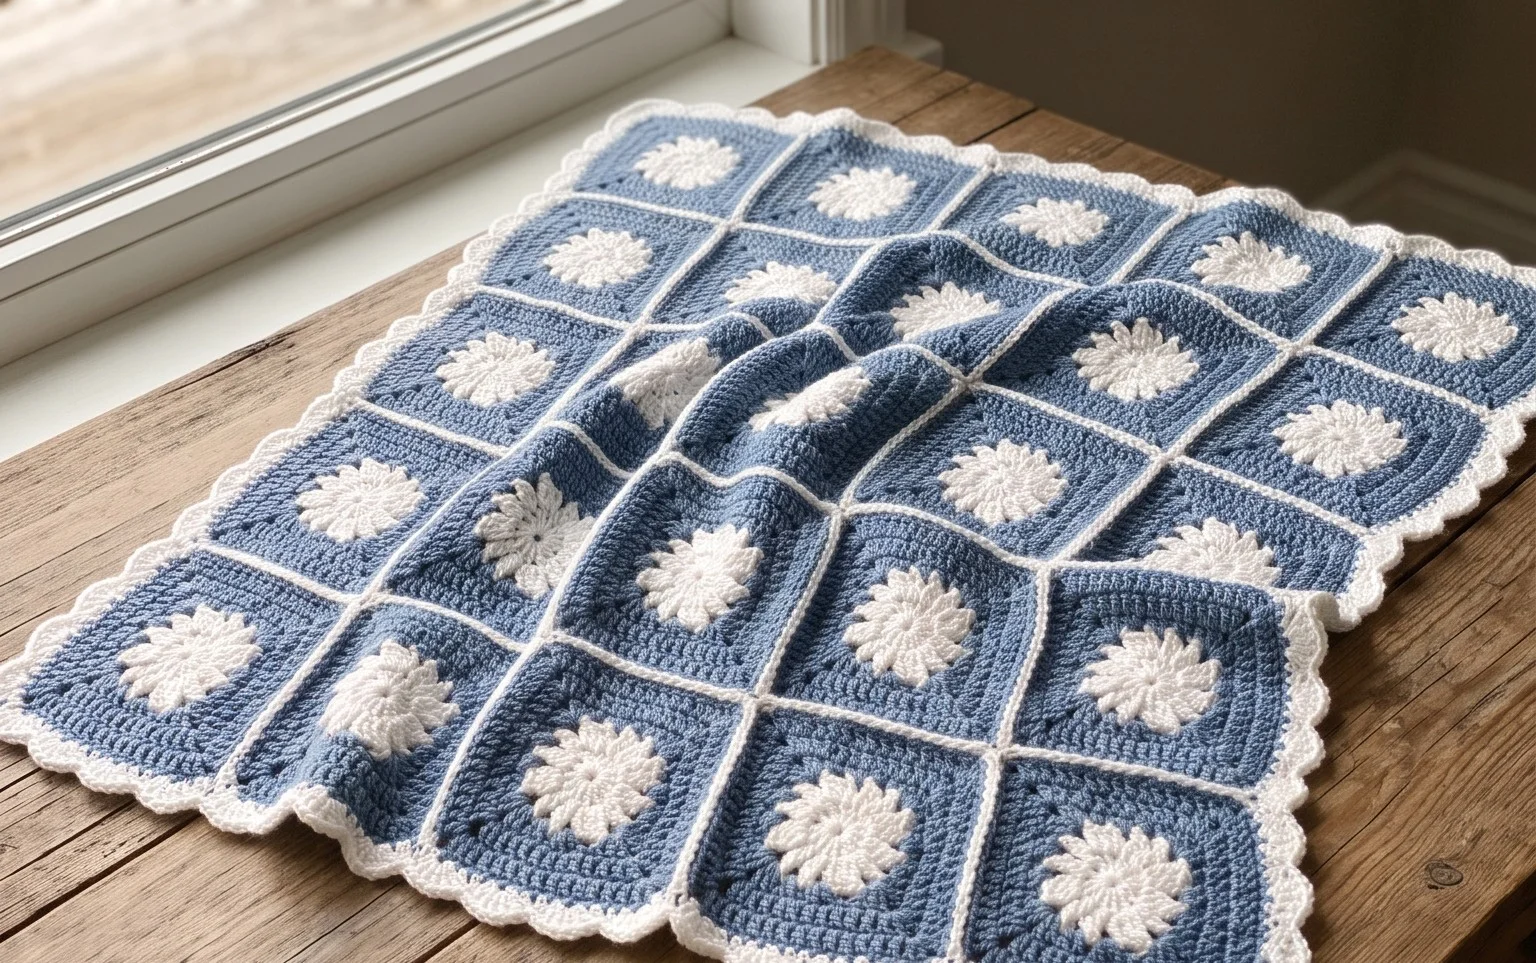
A classic granny square is built from groups of three double crochets, with chain spaces forming its corners. The repeated rounds make it a useful first project for learning how to work into spaces and keep a simple shape square. It is also small enough to carry in a project bag and easy to pause between rounds.
One square takes a modest amount of yarn, so leftover worsted-weight skeins can be put to use. A finished square can be joined with others for a larger crochet project, or kept on its own as a coaster or small decorative panel. This pattern uses the same corner groups throughout, so the main change from round to round is the number of groups along each side.
The corner spaces made it easy to see where each new round began. I finished my first square in an evening and liked how neatly the edges sat after blocking.
— Mae, first-square maker
Pattern Overview & Skill Level
- Skill Level: Beginner. You should know how to chain, make a double crochet, and join a round with a slip stitch.
- Approximate Time: About 1 to 2 hours for one square, depending on your pace and how often you stop to count.
- Construction: Work in joined rounds from the center outward. Chain spaces make the four corners, and groups of three double crochets build the sides.
- Finished Dimensions & Sizing: About 6 to 6.5 inches square after five rounds with the yarn and hook listed below. Individual tension affects the finished measurement.
Materials & Supplies Needed
- Yarn: About 35 to 45 yards of medium worsted-weight yarn, category #4. Acrylic is easy to wash and block; cotton gives a firmer, less stretchy square. Use one color, or change colors at the start of a round. The estimate allows for a few weaving-in tails.
- Hook: 5.0 mm / H-8 crochet hook. If your stitches are tight, try a 5.5 mm / I-9 hook, but expect a slightly larger, more open square.
- Notions: Tapestry needle for weaving in ends, scissors, and a ruler or tape measure. A stitch marker is optional because rounds are joined, but it can mark the first corner.
- Substitutions: A similar-weight wool or wool blend works, but may feel warmer and need gentler washing. A lighter yarn with a smaller hook makes a smaller square; bulky yarn with a larger hook makes a larger, thicker square and uses more yarn. Keep the yarn and hook compatible rather than forcing a tight fabric with a very small hook.
Stitch Guide & Abbreviations (US Terms)
- ch: Chain.
- ch-2 space: The open space made by chaining two stitches in a corner.
- dc: Double crochet. Yarn over, insert the hook, yarn over and pull up a loop, yarn over and pull through two loops, then yarn over and pull through the remaining two loops.
- rnd: Round.
- sl st: Slip stitch. Insert the hook, yarn over, and pull the yarn through the stitch and the loop on the hook.
- st / sts: Stitch / stitches.
- 3-dc group: Three double crochets worked into the same space. The chain spaces at the corners are separate from these groups.
Keep each corner group as 3 dc, ch 2, 3 dc in the same corner space. The chain-3 at the start of a round counts as one double crochet. Stitch counts below give the total number of double crochets, followed by the number of open side spaces where relevant.
Step-by-Step Pattern Instructions
Granny Square
Make a slip knot. Chain 4, then join the first chain with a slip stitch to form a ring. Do not twist the chain. If you prefer, use a magic ring and tighten it firmly after the first round.
- Rnd 1: Ch 3 (counts as 1 dc), work 2 dc into the ring, ch 2. Work 3 dc into the ring, ch 2 three times. Join with a sl st to the top of the starting ch-3. You will have four 3-dc groups and four corner spaces. (12 dc; 4 ch-2 spaces)
- Rnd 2: Sl st across the next 2 dc and into the first corner space. Ch 3, work 2 dc in that space, ch 2, then 3 dc in the same space. In each of the remaining three corner spaces, work 3 dc, ch 2, and 3 dc. Join with a sl st to the top of the starting ch-3. (24 dc; 4 ch-2 spaces)
- Rnd 3: Sl st across the next 2 dc and into a corner space. Ch 3, work 2 dc in that space, ch 2, then 3 dc in the same space. Work 3 dc in the gap between the groups along the side. Repeat the corner group and side group sequence around; work one side group along each side and a corner group in each corner space. Join to the top of the starting ch-3. (36 dc; 4 ch-2 spaces; 4 side gaps)
- Rnd 4: Sl st into the next corner space. Ch 3, work 2 dc in that space, ch 2, then 3 dc in the same space. Work 3 dc in each side gap to the next corner. Repeat around, placing 3 dc, ch 2, and 3 dc in each corner space. Join to the top of the starting ch-3. (48 dc; 4 ch-2 spaces; 8 side gaps)
- Rnd 5: Sl st into the next corner space. Ch 3, work 2 dc in that space, ch 2, then 3 dc in the same space. Work 3 dc in each side gap to the next corner. Repeat around, placing 3 dc, ch 2, and 3 dc in each corner space. Join to the top of the starting ch-3. (60 dc; 4 ch-2 spaces; 12 side gaps)
Finishing
Fasten off, leaving a tail long enough to weave in. Thread the tail onto a tapestry needle and weave it through the backs of several stitches on the same-color side, then change direction through a few stitches to help secure it. Weave in the starting tail in the same way. Gently wet-block the square if its edges curl: dampen it, shape the four corners and sides, and let it dry flat.
Care & Washing Instructions
- For acrylic yarn, wash gently in cool water; for cotton, follow the yarn label and use cool or lukewarm water.
- Press out water in a towel and dry the square flat rather than hanging it, which can stretch the corners.
- While damp, reshape the sides and corners by hand; follow the yarn label before applying steam or heat.
Pro Tips & Common Mistakes to Avoid
- Keep your chain stitches relaxed. A tight starting chain can pull the center closed, while loose double crochets can make the sides look wavy. If the square cups, try a slightly larger hook; if it flares, try a smaller one.
- Count the four corner spaces at the end of every round. Place a stitch marker in the first corner if you have trouble finding it after working across the side groups.
- Join at the top of the starting chain-3, not into the next double crochet. Joining in the wrong spot can add an extra stitch and shift the corner alignment.
- For a larger square, repeat the last round pattern, adding one more side gap on each side each time. Each extra round takes more yarn and increases the finished width; measure as you go if you need a particular size.
Frequently Asked Questions
Can I use a different yarn weight?
Yes. Choose a hook that gives you a flexible fabric without large holes, and expect the finished square to change size. A lighter yarn makes a smaller square, while bulky yarn makes a larger, thicker one. Yardage also changes with yarn weight and your tension.
Why are my square’s sides curling or rippling?
Curling often means the stitches or starting chain are too tight. Rippling can happen when stitches are too loose or when an extra side group is accidentally added. Check that each corner has two 3-dc groups separated by ch 2, and each side gap has one 3-dc group.
Is this granny square suitable for a first crochet project?
Yes, if you are comfortable making chains and double crochets. The first round can feel crowded, so work slowly and check that you have four corner spaces before starting the next round. A stitch marker can help you find the first corner.
Can I sell items made from these squares?
You can use the squares in a finished item, but check the designer’s terms before selling finished work or presenting the pattern as your own. If you sell the finished item, describe the yarn and care needs accurately.
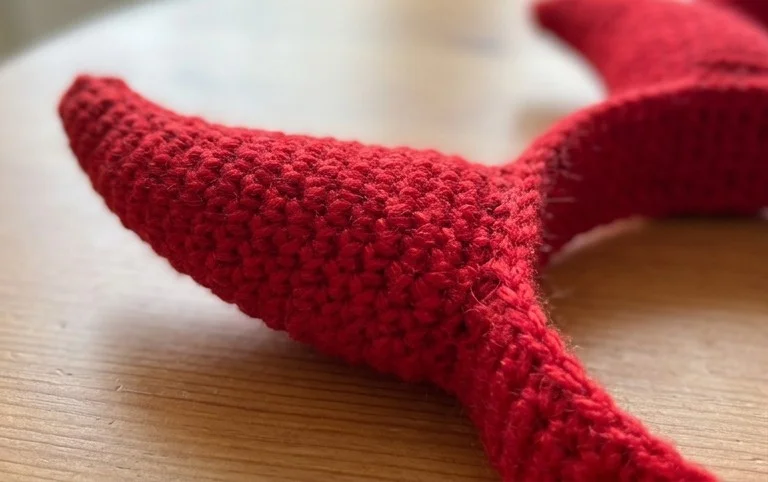
A finished pair of crochet horns gives a simple headband a strong, handmade character, and the soft stuffed shape is comfortable to wear through a party or photo session. For a quick variation, use a different yarn color to make the horns match a costume, or choose a slightly thicker yarn for a larger look. Share a photo of your finished pair on Pinterest or your favorite social media platform; seeing the colors and styling others choose is part of the fun. If you enjoyed working the horns, explore more free crochet patterns on the blog for your next small project, costume accessory, or handmade gift.