Easy Windward Winter Headband: Free Crochet Pattern
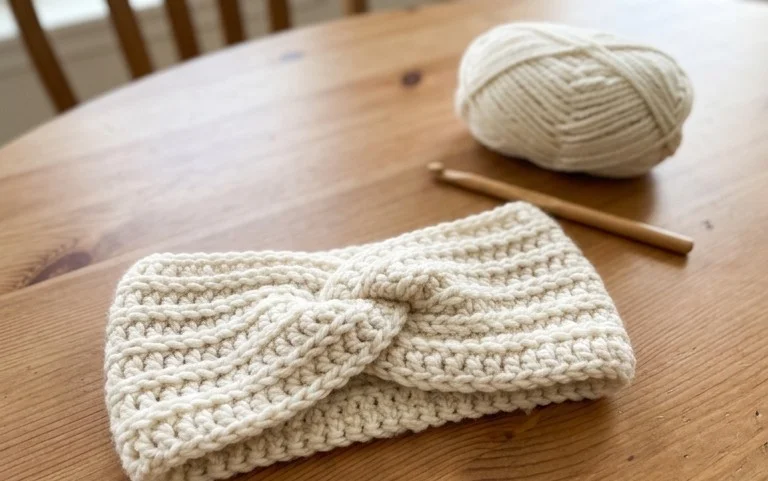
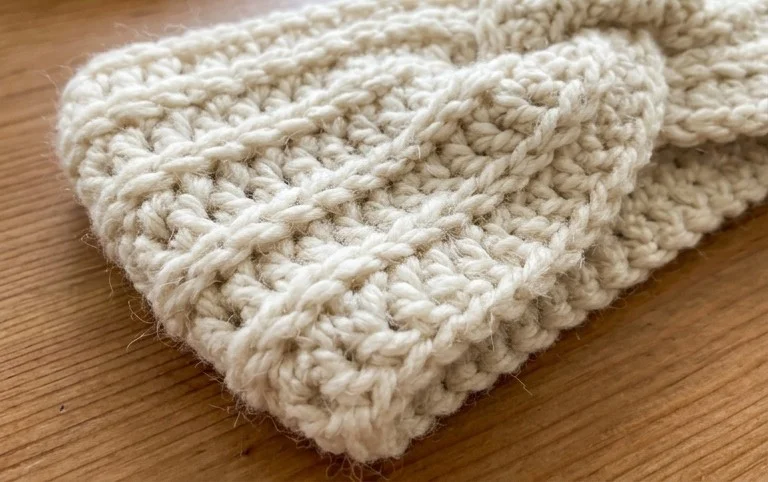
This snug headband brings a soft, warm layer to your ears on windy days without the bulk of a full winter hat. Made using simple half double crochet stitches, the fabric creates a tight ribbing that mimics store-bought accessories while maintaining a cozy, handmade charm. Beginners appreciate the straightforward flat construction because it avoids complex joining, leaving you with a clean, professional finish. You will learn how to maintain consistent tension to get that signature elastic stretch, which ensures the piece stays securely in place during brisk walks or snowy morning commutes to work.
Why You’ll Love This Pattern
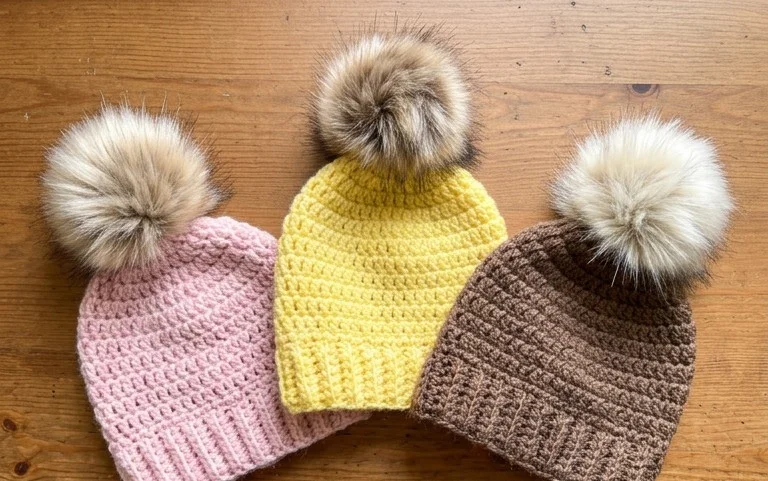
This crochet ribbed beanie pattern creates a classic, snug-fitting hat that relies on simple half double crochet stitches worked in the back loops to achieve a professional, machine-knit look. The design is highly efficient because it is worked as a flat rectangular panel, meaning you never have to worry about joining rounds or tracking stitch markers while working in the round. It is an ideal project for using up partial skeins of worsted weight yarn, and the finished texture offers excellent thermal retention for cold winter days. Because the stitch pattern is a straightforward repeat, it allows for rhythmic, meditative crafting that results in a polished accessory suitable for any wardrobe.
I finished this beanie in a single evening while watching a movie. The instructions were very clear, and the ribbing looks exactly like the expensive store-bought versions.
— Sarah, hobbyist crocheter
Pattern Overview & Skill Level
- Skill Level: Beginner
- Approximate Time: 3 to 4 hours
- Construction: Worked flat as a rectangular panel, then seamed at the side and gathered at the top.
- Finished Dimensions: 9 inches wide by 11 inches tall (laying flat, unstretched).
Materials & Supplies Needed
- Yarn: Worsted weight (#4) acrylic or wool blend, approximately 200 yards.
- Hook Size: 5.5 mm (US I-9).
- Notions: Large-eye tapestry needle, locking stitch marker, scissors, and a pom-pom maker (optional).
- Yarn Substitutions: You can use a DK weight yarn for a lighter feel, though you will need to add more starting chains to reach the desired height. Avoid heavy cotton yarns as they lack the elasticity required for the ribbed brim to stay snug against the head.
Stitch Guide & Abbreviations (US Terms)
- ch = chain
- hdc = half double crochet
- BLO = back loop only (insert the hook only through the back loop of the stitch from the previous row)
- st/sts = stitch/stitches
- sl st = slip stitch
- turn = turn your work to begin the next row
Step-by-Step Pattern Instructions
Main Body Panel
- Row 1: Ch 41. Hdc in the second ch from hook and in each ch across. Turn. (40 sts)
- Row 2: Ch 1, hdc in BLO of the first st and in each st across. Turn. (40 sts)
- Rows 3–60: Repeat Row 2 until the piece measures approximately 18 inches in width when slightly stretched.
Assembly and Finishing
Once you reach the desired width, fasten off, leaving a 20-inch tail of yarn. Fold the rectangle in half, matching the short ends. Using the tapestry needle and the long tail, sew the side edges together using a mattress stitch or a simple whip stitch to create a tube. Knot the yarn securely at the bottom and trim any excess.
To close the top of the hat, thread your tapestry needle with a new length of yarn. Weave the needle in and out of every other row along the top edge of the tube. Pull the yarn tail tight to gather the fabric into a circle, effectively closing the crown. Secure the opening with several stitches across the center and weave in your ends on the inside of the hat.
Care & Washing Instructions
- Hand wash in cool water using a mild wool-safe detergent to preserve the fibers.
- Lay the beanie flat on a clean towel to air dry, reshaping it while damp to ensure the ribbing remains uniform.
- Avoid using a tumble dryer or harsh bleach, as these can cause the yarn to lose elasticity or shrink unexpectedly.
Pro Tips & Common Mistakes to Avoid
Maintaining consistent tension is the most important factor in this pattern; if your stitches are too tight, the fabric will become stiff and lose its stretch. Use a larger hook size than the yarn label recommends if you find your chains are naturally tight. Always count your stitches at the end of every row to ensure you have exactly 40; missing a stitch will cause the edges of your rectangle to taper, making it impossible to form a straight seam. When weaving in your ends, carry the needle under the stitches on the inside of the hat for at least one inch to prevent the seam from unraveling over time. You can adjust the size of the hat by adding or subtracting chains in the starting row, but remember that every 2 chains added will increase the height of the hat by approximately half an inch.
Frequently Asked Questions
Can I use a chunky yarn instead of worsted weight?
Yes, but you will need to adjust your starting chain count significantly. Chunky yarn requires fewer stitches to cover the same distance, so start with fewer chains and test the height against your own head.
Is this pattern suitable for complete beginners?
This is an excellent project for beginners because it uses only one basic stitch, the half double crochet, and requires no complicated shaping or increases.
Am I allowed to sell hats made from this pattern?
You are welcome to sell items made from this design, provided you credit the pattern appropriately. Always check the specific usage terms provided by the designer if you plan to produce these on a commercial scale.
Why does my rectangle have a wavy edge?
A wavy or uneven edge is usually caused by inconsistent tension or skipping the final stitch of a row. Ensure you are placing a stitch into the very last loop of the previous row every time you turn your work.
Your new handmade winter accessory is ready to keep you warm through the frostiest days. If you want to experiment, try using a variegated yarn to add a subtle pop of color or hold two strands of thinner yarn together for extra thickness. Seeing how your finished headband turns out is the best part of the process, so please post your progress photo online. You can find more free patterns available on my blog to continue building your seasonal collection of handmade wearables.