Harlequin Stitch Crochet: Easy Free Pattern and Tutorial
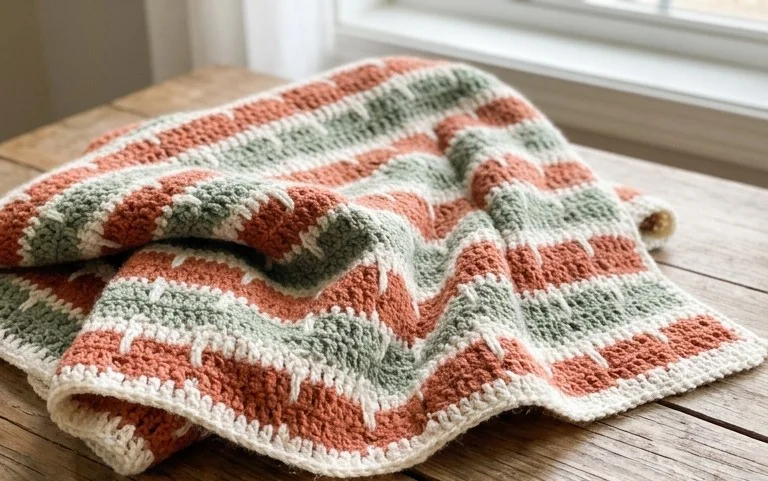
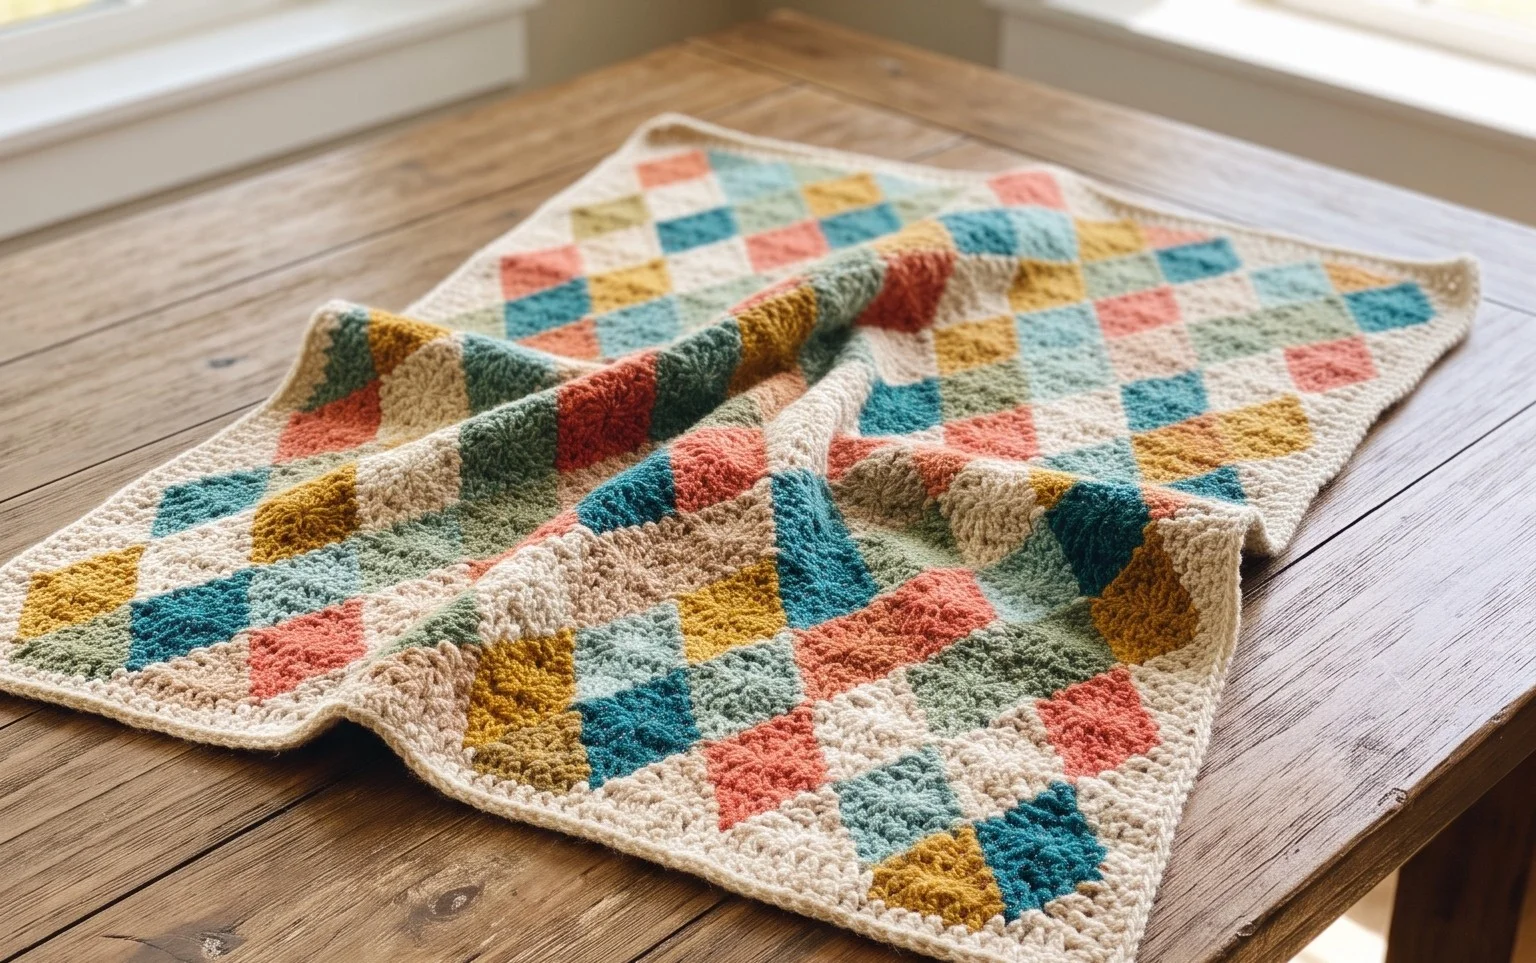
The diamond shapes of this classic stitch create a dense, warm fabric that feels surprisingly soft against the skin once finished. Makers often choose this specific pattern to create blankets or heavy washcloths because the structural integrity of the diamond motifs handles daily wear exceptionally well. You will find that mastering the alternating chains and double crochet clusters produces a rhythmic motion, which makes this an enjoyable project for rainy afternoons on the sofa. By focusing on tension control and the alignment of your foundation stitches, you will achieve clean, professional edges that look great in any home decor setting.
Why You’ll Love This Pattern
The Classic Crochet Granny Square is the fundamental building block for countless textile projects, from cozy blankets to lightweight summer totes. You will appreciate how quickly the work grows once you master the initial center cluster. This pattern is exceptionally scrap-yarn friendly, allowing you to use up partial skeins of different colors to create a unique, mismatched aesthetic. Because it relies on basic double crochet stitches and chain spaces, the repeat becomes rhythmic and meditative within just a few rounds.
I struggled with tension for years until I tried this simple square pattern. The clear instructions helped me finally understand how to work into the corners without my edges curling up.
— Sarah, beginner crocheter
Pattern Overview & Skill Level
- Skill Level: Beginner
- Approximate Time: 30 to 45 minutes per square
- Construction: Worked in joined rounds, starting from a center ring and expanding outward
- Finished Dimensions: Approximately 5 inches by 5 inches using medium weight yarn
Materials & Supplies Needed
- Yarn: Worsted weight (#4), wool or acrylic blend, approximately 20 yards per square.
- Hook Size: 5.0 mm (H-8).
- Notions: Yarn needle for weaving in ends, sharp scissors.
- Safe yarn substitutions: You may use DK weight (#3) with a 4.0 mm hook for a smaller square or bulky (#5) with a 6.0 mm hook for a larger square. Note that changing weight will significantly alter the finished size.
Stitch Guide & Abbreviations (US Terms)
- ch = chain
- dc = double crochet
- sl st = slip stitch
- sp = space
- cluster = a group of 3 dc stitches worked into the same space
- corner = (3 dc, ch 2, 3 dc) worked into a chain-2 space
Step-by-Step Pattern Instructions
Foundation and Rounds
- Foundation: Ch 4, join with a sl st to the first ch to form a ring. Alternatively, use a magic ring if preferred.
- Rnd 1: Ch 3 (counts as first dc throughout), work 2 dc into the ring, ch 2. Work 3 dc into the ring, ch 2 — repeat from * to * two more times. Join with a sl st to the top of the initial ch 3. (12 dc, 4 ch-2 spaces)
- Rnd 2: Sl st into the next ch-2 corner space. Ch 3, (2 dc, ch 2, 3 dc) in same space. Ch 1, skip 3 dc, (3 dc, ch 2, 3 dc) in next ch-2 space — repeat from * to * two more times. Ch 1, join with sl st to the top of the initial ch 3. (24 dc, 4 ch-1 spaces, 4 ch-2 spaces)
- Rnd 3: Sl st into the next ch-2 corner space. Ch 3, (2 dc, ch 2, 3 dc) in same space. Ch 1, 3 dc in next ch-1 space, ch 1, (3 dc, ch 2, 3 dc) in next ch-2 space — repeat from * to * two more times. Ch 1, 3 dc in final ch-1 space, ch 1, join with sl st to the top of the initial ch 3. (36 dc, 8 ch-1 spaces, 4 ch-2 spaces)
Finishing
Fasten off the yarn, leaving a 6-inch tail. Use your tapestry needle to weave the end securely into the back of the stitches, ensuring the tail is hidden within the thickest parts of the cluster to prevent unraveling.
Care & Washing Instructions
- Hand wash your finished squares in cool water using a mild wool-safe detergent.
- Lay the squares flat on a clean towel and reshape them while damp to ensure perfectly square edges.
- Avoid wringing or twisting the fabric, as this can stretch the stitches and distort the final shape.
Pro Tips & Common Mistakes to Avoid
Maintain consistent tension by ensuring your chain-1 spaces between clusters are not pulled too tightly, which causes the square to “cup.” Always use a stitch marker in the top of your beginning chain-3 to make joining the rounds much easier, especially if you are working with dark-colored yarn. When weaving in your ends, run the needle through at least three different stitches in opposite directions to prevent them from slipping out over time. If you want to make the square larger, simply repeat the pattern of adding 3 dc in each side ch-space and increasing at the corners, but remember that each additional round will consume significantly more yarn.
Frequently Asked Questions
Can I use cotton yarn instead of wool for these squares?
Yes, cotton yarn works beautifully and creates a stiffer, more structured square that is ideal for dishcloths or coasters.
Is it normal for my square to look slightly wavy?
A slight ripple is common while working, but it will disappear once you block the square flat or join it to other squares.
How do I adjust the size of the square?
You can make the square as large as you like by repeating the instructions for Round 3, adding one additional 3-dc cluster in every side chain-space for each subsequent round.
Can I sell the items I make from this pattern?
You are welcome to sell finished physical items created using this pattern, provided you credit the designer and use your own original photographs.
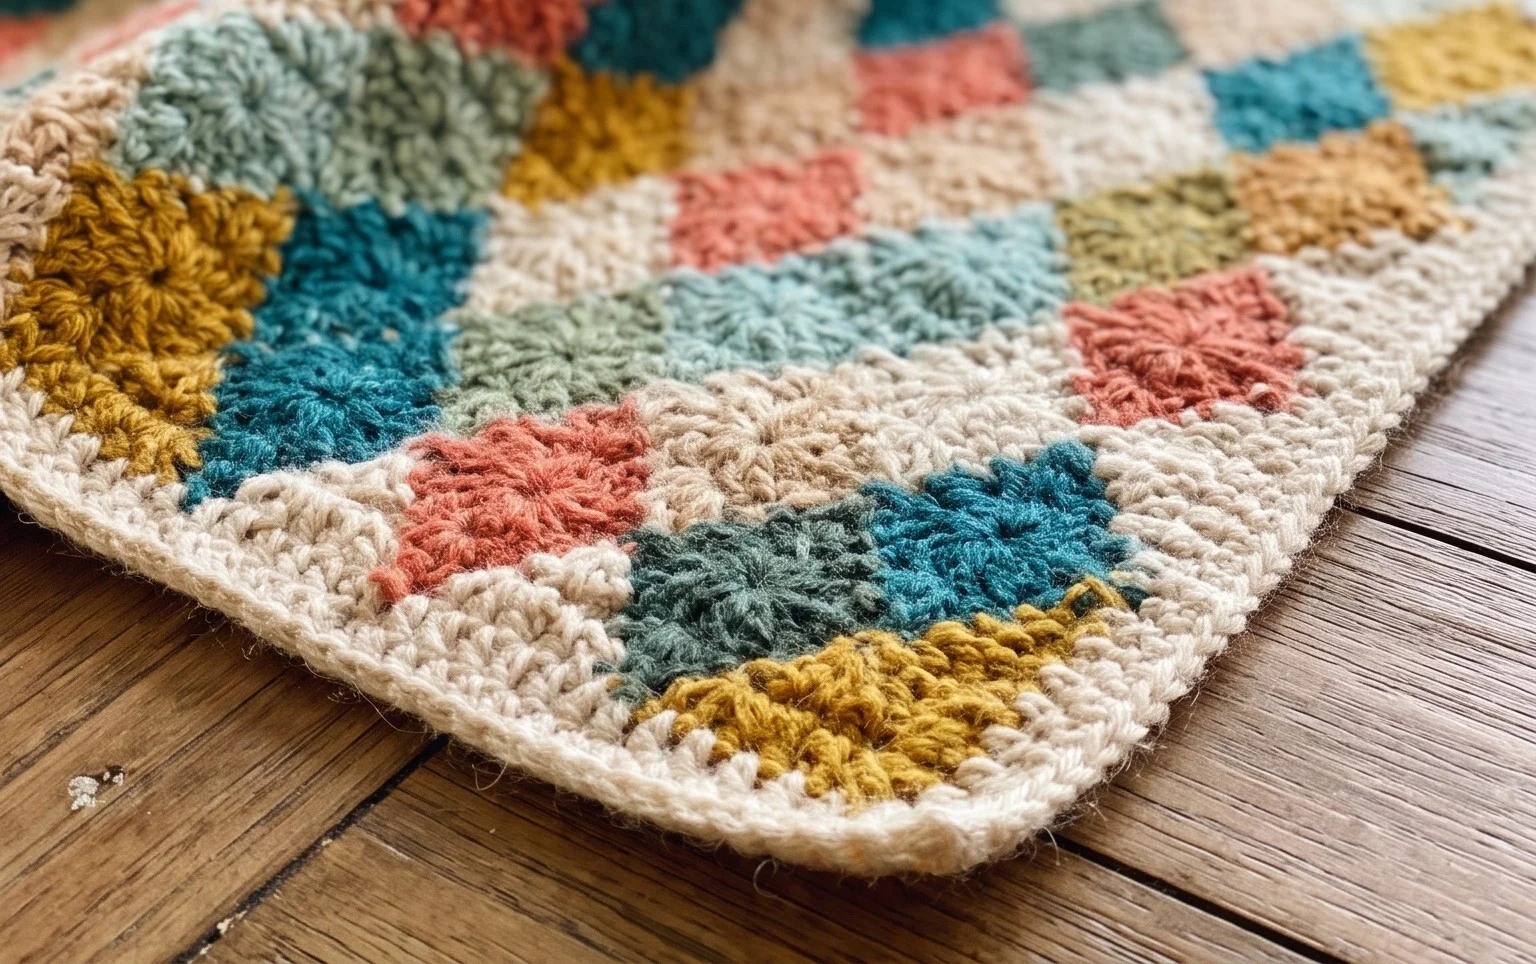
Your finished diamond motif project brings a sophisticated handmade touch to your living room or bedroom. Try using a variegated yarn for the next project to see how the shifting colors highlight the geometric pattern without requiring extra effort. Sharing your work on social media helps other makers find inspiration for their own yarn stashes. If you enjoyed this build, you should browse our collection of additional free patterns available throughout the site to find your next project. We always appreciate seeing how your color choices turn out in the final result.