Easy Crochet Mittens Ornament Free Pattern for Beginners
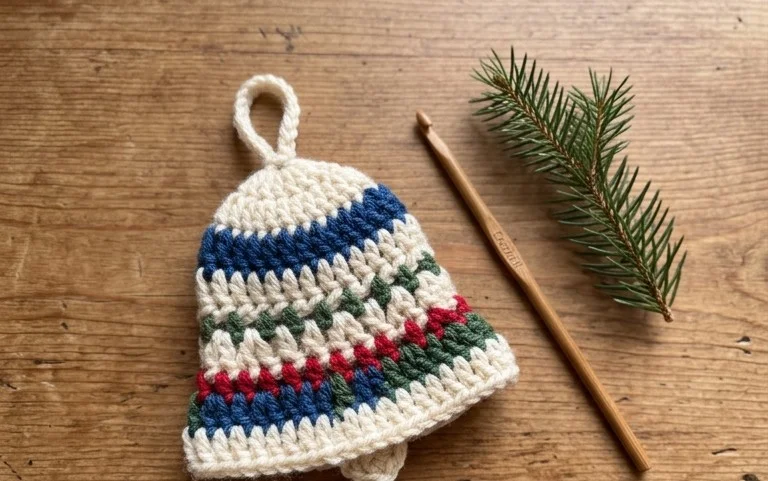
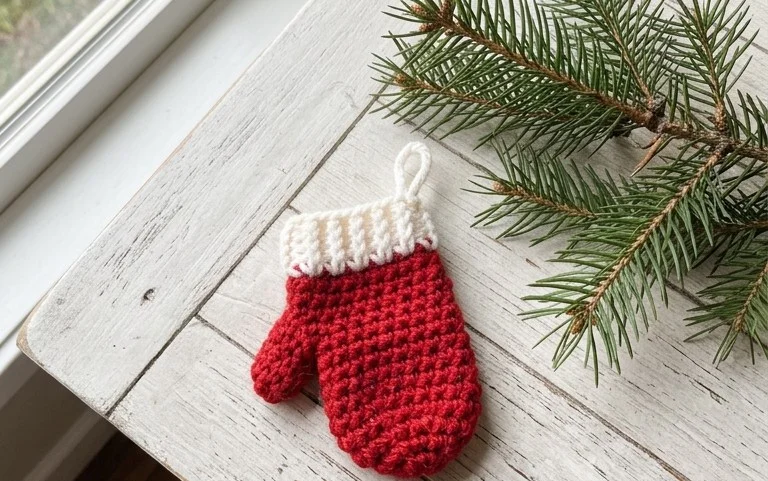
These miniature mittens bring a cozy, nostalgic touch to your evergreen branches or holiday packages. Each piece fits comfortably in the palm of your hand and features a dense, clean texture created by working in tight single crochet stitches. This project is a gentle introduction to shaping small items, allowing beginners to practice simple increases and decreases without the pressure of a large, time-consuming garment. Whether you want to personalize gifts with a handmade tag or fill your home with soft, yarn-based decorations, you will enjoy how these small accessories come together in just under an hour.
Why You’ll Love This Pattern
This crochet sphere pattern uses a basic increases and decreases technique, making it a reliable foundation for countless amigurumi projects. By working in a continuous spiral, you avoid the visible seam that often appears when joining rounds. The uniform shape serves as a perfect base for adding facial features, animal ears, or seasonal decorations like holiday ornaments. Because the project works up quickly, it is an ideal choice for using up small amounts of leftover yarn from your stash.
I finally mastered the invisible decrease thanks to this tutorial, and my spheres are now perfectly round without any holes for the stuffing to poke through.
— Sarah, amigurumi enthusiast
Pattern Overview & Skill Level
- Skill Level: Beginner
- Approximate Time: 45–60 minutes
- Construction: Amigurumi-style continuous rounds starting with a magic ring
- Finished Dimensions: Approximately 3 inches in diameter when using medium weight yarn
Materials & Supplies Needed
- Yarn: Worsted weight #4, 100% acrylic or cotton, approximately 25 yards. Solid colors show stitch definition best.
- Hook Size: 3.5 mm (E-4) for a tight gauge that prevents stuffing from showing.
- Notions: Polyester fiberfill for stuffing, stitch markers to keep track of the round start, tapestry needle for weaving ends, and scissors.
- Yarn Substitutions: You can use DK weight yarn with a 3.0 mm hook for a smaller sphere, or bulky weight yarn with a 5.0 mm hook for a larger sphere. Adjusting yarn weight will change the final dimensions proportionally.
Stitch Guide & Abbreviations (US Terms)
- MR: Magic Ring
- ch: Chain
- sc: Single crochet
- inc: Increase (work 2 sc into the same stitch)
- dec: Decrease (sc2tog; insert hook into the front loop of the next two stitches, yarn over, pull through, yarn over, pull through all loops on hook)
- sl st: Slip stitch
- st/sts: Stitch/stitches
Step-by-Step Pattern Instructions
Sphere Body
- Rnd 1: Start 6 sc in a MR (6 sts).
- Rnd 2: Inc in each st around (12 sts).
- Rnd 3: [Sc in next st, inc in next st] 6 times (18 sts).
- Rnd 4: [Sc in next 2 sts, inc in next st] 6 times (24 sts).
- Rnd 5: [Sc in next 3 sts, inc in next st] 6 times (30 sts).
- Rnds 6–10: Sc in each st around (30 sts).
- Rnd 11: [Sc in next 3 sts, dec] 6 times (24 sts).
- Rnd 12: [Sc in next 2 sts, dec] 6 times (18 sts).
- Rnd 13: [Sc in next st, dec] 6 times (12 sts).
- Stuffing: Firmly pack the sphere with fiberfill until it holds its shape.
- Rnd 14: Dec 6 times (6 sts).
Finishing
Cut the yarn, leaving a 6-inch tail. Thread the tail onto your tapestry needle. Weave the needle through the front loops of the remaining 6 stitches and pull tightly to close the opening. Secure the yarn with a knot and bury the remaining end inside the sphere.
Care & Washing Instructions
- Hand wash your finished item in cool water with mild detergent to prevent the fiberfill from clumping.
- Lay the sphere flat on a clean towel and allow it to air dry completely away from direct heat sources.
- If the item becomes squashed during storage, gently roll it between your palms to reshape the stuffing and restore its round form.
Pro Tips & Common Mistakes to Avoid
Maintain consistent tension throughout the project by keeping your yarn tension steady; if your stitches feel loose, try dropping down a hook size. Always place a stitch marker in the first stitch of every round to ensure you do not lose your place, as spiral rounds can be difficult to track visually. When weaving in your ends, run the needle through the center of the sphere multiple times in different directions to ensure the tail stays securely inside the stuffing. If you wish to make the sphere larger, continue increasing by 6 stitches per round until you reach your desired width, then work even for several rounds before decreasing at the same rate.
Frequently Asked Questions
Can I use a different yarn fiber for this pattern?
Yes, you can use any fiber weight as long as you pair it with a hook size small enough to create a dense fabric. Cotton holds its shape best for amigurumi, while acrylic is a softer, more budget-friendly choice.
Why are there gaps in my stitches where the stuffing shows through?
Gaps usually occur when your hook is too large for your yarn weight. Use a hook at least one size smaller than the recommendation on your yarn label to create a tighter, more secure fabric.
Is this pattern suitable for complete beginners?
This pattern is excellent for beginners because it only requires the single crochet stitch and the ability to work in a circle. It introduces the fundamental concepts of increasing and decreasing needed for almost all toy-making.
Am I allowed to sell items made from this pattern?
You are welcome to sell finished items created from this pattern. I ask that you credit the designer and use your own photographs when listing items for sale online.
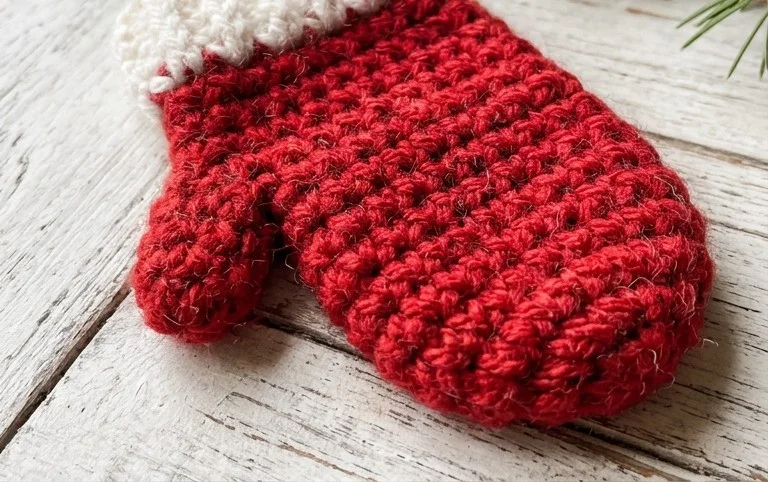
Seeing these tiny mittens dangling from a tree branch feels like a real accomplishment after just an hour of work. You can change the look entirely by switching from classic red acrylic to a rustic, heathered wool for a more sophisticated style. Please post a photo of your finished ornaments on social media so others can see your color choices. I encourage you to browse the rest of the blog for more seasonal projects and patterns that utilize your remaining scrap yarn stash.