Easy Amigurumi Snowman Free Crochet Pattern for Beginners
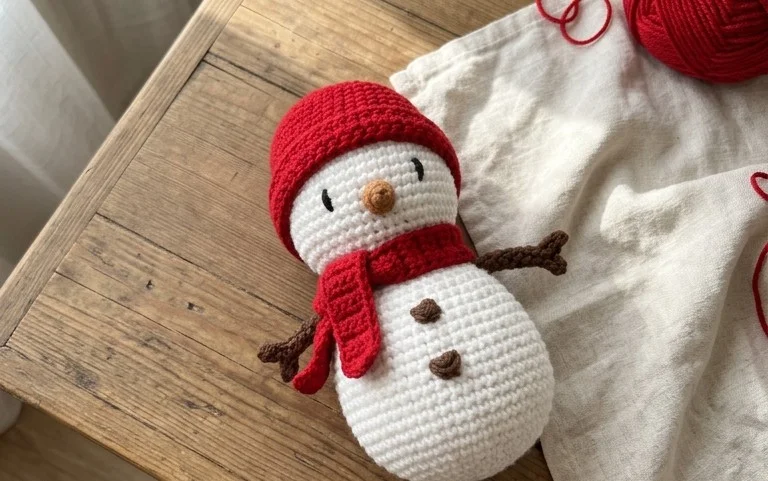
This miniature snowman features a dense, squishy texture that sits firmly on a mantelpiece or desk without wobbling. You will appreciate how the round shape comes together, providing a clear path for beginners to practice the magic ring technique and consistent single crochet stitches. Working with worsted weight yarn gives the snowman a substantial feel in your hands, making it a reliable project for those chilly afternoons spent indoors. By focusing on maintaining tension, you will produce a clean, uniform surface that hides the stuffing inside. This project turns simple yarn scraps into a festive handmade companion for your winter holiday display.
Why This Project Is Worth Making
This beginner-friendly project works up quickly, making it a satisfying choice for those who want to finish a handmade item in a single afternoon. Because it uses simple stitches, you can focus on maintaining even tension without navigating complex maneuvers. The pattern is exceptionally scrap-yarn friendly, allowing you to use up leftover bits of worsted weight yarn while creating a polished, professional-looking accessory. It is the ideal size for a quick gift or a personal stash-buster.
I managed to finish this in just a few hours on a weekend, and the instructions were so clear that I never had to frog my work once.
— Sarah, casual crocheter
Pattern Overview & Skill Level
- Skill Level: Beginner
- Approximate Time: 3 to 4 hours
- Construction: Worked in continuous rounds using a magic ring for the base, transitioning into straight sides, and finishing with a simple bind-off edge.
- Finished Dimensions: 4 inches in diameter and 5 inches tall.
Materials & Supplies Needed
- Yarn: Worsted weight #4 cotton or acrylic yarn, approximately 70 yards in total.
- Hook Size: 5.0 mm (H-8).
- Notions: Tapestry needle, locking stitch marker, and a pair of sharp scissors.
- Yarn Substitutions: Wool or wool blends work well for added warmth and structure, while acrylic is ideal for easy machine washing. Cotton provides a crisp stitch definition but may feel slightly heavier. Using a thicker yarn will increase the finished dimensions, while a thinner yarn will require an extra increase round to maintain size.
Stitch Guide & Abbreviations (US Terms)
- MR: Magic Ring.
- ch: Chain.
- sc: Single crochet.
- inc: Increase (work 2 sc in the same stitch).
- dec: Decrease (work 2 sc together through the front loops only).
- sl st: Slip stitch.
- BLO: Back loop only.
- st(s): Stitch(es).
Step-by-Step Pattern Instructions
Base and Body
- Rnd 1: Start with a MR, work 6 sc into the ring. (6 sts)
- Rnd 2: Work 2 sc in each st around. (12 sts)
- Rnd 3: 1 sc, inc repeat 6 times. (18 sts)
- Rnd 4: 2 sc, inc repeat 6 times. (24 sts)
- Rnd 5: 3 sc, inc repeat 6 times. (30 sts)
- Rnd 6: Working in BLO, sc in each st around. (30 sts)
- Rnd 7-15: Sc in each st around. (30 sts)
- Rnd 16: 3 sc, dec repeat 6 times. (24 sts)
- Rnd 17: 2 sc, dec repeat 6 times. (18 sts)
Finishing and Closing
To finish the piece, cut the yarn leaving a 6-inch tail. Pull the tail through the final loop. Use the tapestry needle to weave the tail through the front loops of the remaining 18 stitches, pulling tight to close the opening securely. Knot the yarn and pull the end inside the piece through the base to hide it completely.
Care & Washing Instructions
- Hand wash in cool water using a gentle detergent specifically formulated for delicate fibers.
- Do not wring or twist the item; instead, press excess water out using a clean, white towel.
- Reshape while damp and lay flat on a drying rack away from direct sunlight to prevent fiber degradation.
Pro Tips & Common Mistakes to Avoid
- Tension Management: Keep your stitches tight to ensure the fabric remains sturdy and prevents gaps between stitches where stuffing might poke through.
- Stitch Counting: Always place a stitch marker in the first stitch of every round to keep track of your position and ensure you do not accidentally skip a stitch.
- Weaving Ends: Hide your yarn tails by running them through the interior stitches of the work in multiple directions; this prevents the ends from popping out after repeated use.
- Size Adjustment: To make the piece wider, add an extra round of increases (e.g., 4 sc, inc) after Rnd 5. Note that this will require approximately 15% more yarn.
Frequently Asked Questions
Can I use a larger hook for this pattern?
Using a larger hook will make the fabric looser and increase the overall size of the item. It is recommended to use the suggested 5.0 mm hook to maintain the intended structure and density.
Is this pattern suitable for complete beginners?
Yes, this pattern uses only standard single crochet stitches and basic increases and decreases, making it an excellent choice for those new to working in the round.
Can I sell the items I make from this pattern?
You are welcome to sell finished items made from this design, provided you credit the designer and use your own photographs for the product listing.
What should I do if my edges are curling?
Curling often occurs when the tension is too tight during the increase rounds or if the stitch count is incorrect. Count your stitches at the end of every round to ensure you are meeting the required numbers.
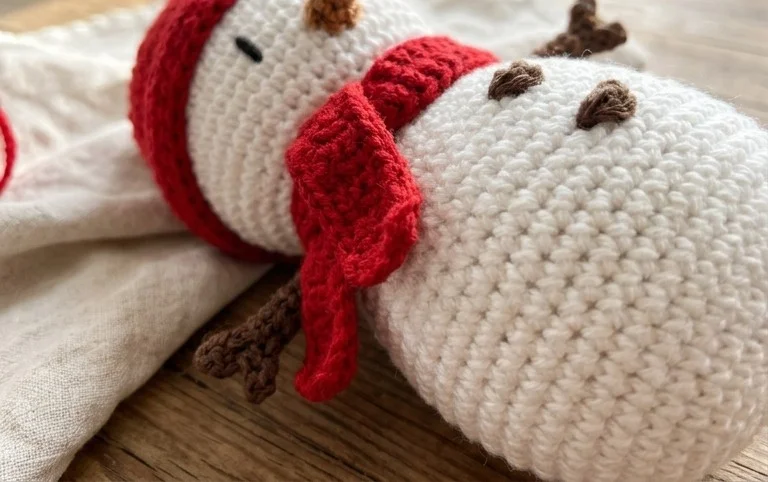
Seeing your finished snowman standing upright with its neat little carrot nose is a rewarding experience after an afternoon of stitching. You can easily modify the design by using a variegated yarn for a festive hat or by adding a tiny scarf made from a different texture like velvet ribbon. Once your snowman is complete, taking a clear photo to share with your fellow makers online helps others see how different color choices change the final look. Feel free to browse through the rest of our collection to find more winter-themed designs to fill your home.