Easy Christmas Crochet Pattern: Cute Amigurumi Ornament
Soft worsted yarn and a simple four millimeter hook turn into a round, dense ornament that sits comfortably in your palm during a long winter evening. This project relies on continuous rounds of single crochet, making it a reliable choice for your first attempt at amigurumi figures or a quick gift for a neighbor. The firm fabric holds stuffing well, preventing gaps between stitches where the fiberfill might show through. You will learn how to maintain even tension throughout the shape, which keeps the finished piece looking symmetrical. It feels like a small, weighted treasure when complete.
Why Crocheters Love It
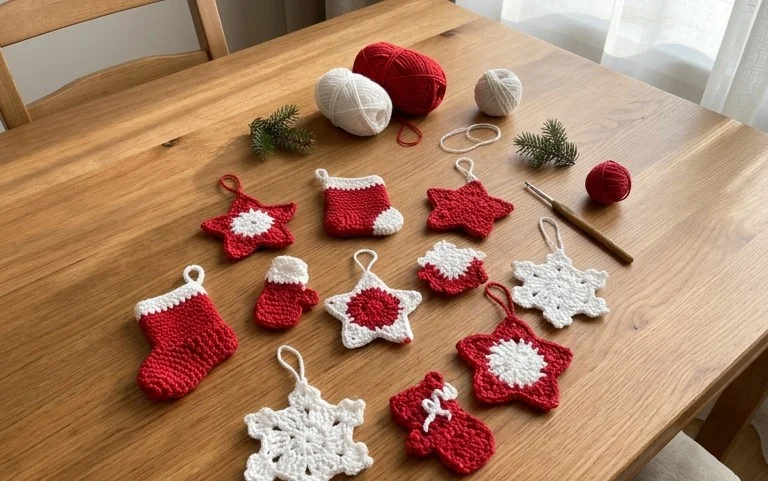
This beginner-friendly project works up quickly, making it a reliable choice for last-minute gifts or stash-busting sessions. The construction uses basic single crochet stitches worked in continuous rounds, allowing you to build muscle memory without complex stitch patterns. Because it requires less than one skein of standard yarn, you can easily use up leftover bits from your knitting bag. The final piece creates a firm, durable fabric that holds its shape beautifully over time, even with frequent handling.
I finished this in one evening while watching a show. The instructions are very clear for a beginner, and it looks exactly like the photos.
— Sarah, casual crafter
Pattern Overview & Skill Level
- Skill Level: Beginner
- Approximate Time: 1–2 hours
- Construction: Amigurumi-style continuous rounds, worked from the base upward
- Finished Dimensions & Sizing: 4 inches tall by 3 inches wide
Materials & Supplies Needed
- Yarn: Worsted weight #4 cotton or acrylic blend, approximately 40 yards.
- Hook Size: 4.0 mm (US G-6).
- Notions: Tapestry needle, locking stitch marker, polyester fiberfill stuffing, and a pair of 8mm safety eyes.
- Safe yarn substitutions: You may use DK weight yarn with a 3.5 mm hook for a smaller, tighter result, or light chunky yarn with a 5.0 mm hook for a larger, softer finished item.
Stitch Guide & Abbreviations (US Terms)
- MR: Magic Ring.
- ch: Chain.
- sc: Single crochet.
- inc: Increase (work 2 sc in the same stitch).
- dec: Decrease (sc2tog, pulling up a loop in the next 2 stitches and drawing the yarn through all 3 loops on the hook).
- st(s): Stitch(es).
- sl st: Slip stitch.
- BLO: Back loop only.
Step-by-Step Pattern Instructions
Main Body
- Rnd 1: Work 6 sc into a magic ring (6 sts).
- Rnd 2: Inc in each st around (12 sts).
- Rnd 3: (1 sc, inc) repeat 6 times (18 sts).
- Rnd 4: (2 sc, inc) repeat 6 times (24 sts).
- Rnd 5: In BLO, work 1 sc in each st around (24 sts).
- Rnd 6-12: Work 1 sc in each st around (24 sts per round).
- Rnd 13: (2 sc, dec) repeat 6 times (18 sts).
Closing and Assembly
Insert safety eyes between rows 9 and 10, spacing them three stitches apart. Begin stuffing the body firmly with fiberfill. Continue the decrease rounds to close the opening.
- Rnd 14: (1 sc, dec) repeat 6 times (12 sts).
- Rnd 15: Dec 6 times (6 sts).
Fasten off, leaving a 6-inch tail. Use the tapestry needle to weave the tail through the front loops of the remaining 6 stitches and pull tight to close the hole securely. Knot the yarn and hide the remaining tail inside the body.
Care & Washing Instructions
- Machine wash on a gentle cycle in cold water using a mesh laundry bag.
- Lay the piece flat on a clean towel to air dry completely away from direct heat.
- Reshape the item with your hands while slightly damp if the stuffing has shifted during the wash.
Pro Tips & Common Mistakes to Avoid
- Maintain a consistent tension throughout the project to prevent gaps between stitches where the stuffing might show through.
- Place a stitch marker at the beginning of every round to keep track of your position, as continuous rounds lack a clear starting point.
- Weave in all ends by running the tail under several interior stitches in multiple directions to ensure the project remains secure during use.
- To adjust the overall size, increase the number of stitches in the initial base rounds to make the item wider, though be aware this will increase your total yarn consumption significantly.
Frequently Asked Questions
Can I substitute the safety eyes with embroidery?
Yes, if the item is intended for a small child, embroidery is safer. Use a length of black yarn or embroidery floss to create satin-stitch eyes directly onto the surface before you begin stuffing the body.
Why do my stitches look uneven?
Uneven stitches often result from inconsistent yarn tension or holding the hook at different angles. Try to wrap the yarn around your fingers the same way for every stitch to keep the loops uniform.
Is this pattern suitable for selling finished items?
You are welcome to sell finished products made from this pattern, provided you credit the designer and use your own photographs for the product listing.
How do I keep my edges from curling?
The single crochet stitch in continuous rounds naturally creates a firm fabric. If you notice curling, ensure your increases are worked evenly and your tension is not overly tight in the foundation ring.
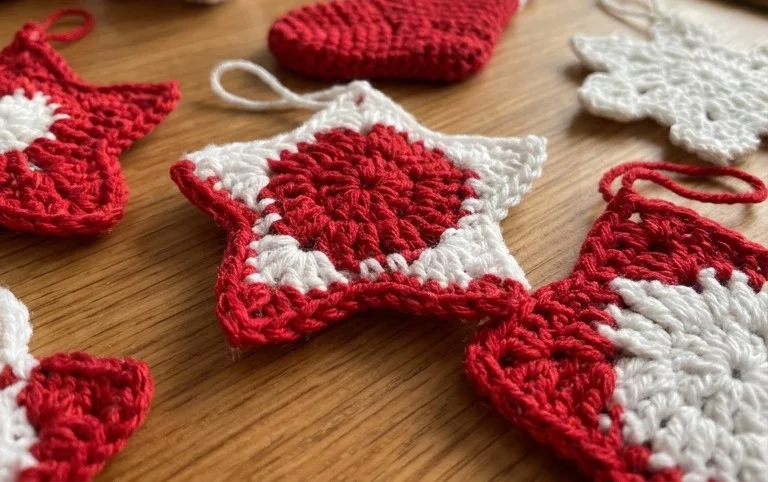
Your new handmade ornament adds a personal touch to your tree or hangs nicely from a gift box as an extra surprise. You can swap the standard white yarn for a variegated metallic blend to create a shimmering effect without changing your stitch count. Post a photo of your finished work on social media to show how your specific color choices turned out. Browse the rest of our seasonal archive for more free patterns to fill your afternoon hours with quiet, creative productivity.