Easy Christmas Placemat Free Crochet Pattern for Beginners
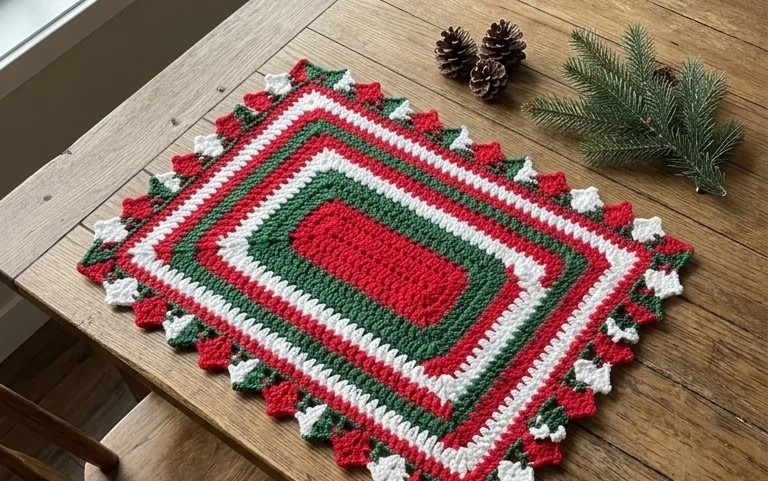
Cotton yarn in festive forest green or bright candy-cane red feels sturdy under your fingers as you work these geometric squares. This crochet placemat design brings a handmade touch to your holiday table, offering a structured surface that protects wood finishes from hot mugs and dinner plates. Beginners will appreciate how the simple repetition helps build confidence while creating a functional piece of seasonal decor. You will focus on maintaining consistent tension across the double crochet clusters, which ensures each block sits flat without buckling. It is a satisfying way to use up leftover yarn scraps for small gifts.
Why You’ll Love This Pattern
The Classic Crochet Granny Square is the foundation of countless textile projects, from cozy blankets to lightweight summer garments. This pattern focuses on the traditional construction method that uses double crochet clusters separated by chain spaces, creating a balanced, geometric aesthetic. You will find that the rhythm of the repeating rounds makes this project meditative and ideal for practicing consistent tension. Because it grows from the center outward, you can easily stop at any size to create everything from a small coaster to a large throw blanket.
I finally learned how to keep my corners sharp and square thanks to these instructions. The repeat is so simple that I finished a whole pile of them while listening to an audiobook.
— Sarah, hobbyist crocheter
Pattern Overview & Skill Level
- Skill Level: Beginner
- Approximate Time: 30 to 45 minutes per square
- Construction: Working in continuous rounds starting from a center point, with joining at the end of each round to maintain square shape.
- Finished Dimensions: Approximately 6 inches by 6 inches using standard worsted weight yarn.
Materials & Supplies Needed
- Yarn: Worsted #4 weight, 100% cotton or acrylic blend, approximately 20 yards per square.
- Hook Size: 5.0 mm (US H-8).
- Notions: Tapestry needle for weaving in ends, scissors, and optional locking stitch markers to track the first stitch of the round.
- Safe yarn substitutions: You can use DK weight yarn for a smaller, tighter square, or bulky yarn for a larger square. Note that changing weight will require adjusting your hook size to match the label recommendation to prevent gaps.
Stitch Guide & Abbreviations (US Terms)
- ch = chain
- st/sts = stitch/stitches
- sl st = slip stitch
- dc = double crochet
- dc cluster = 3 double crochet stitches worked into the same space
- sp = space (the gap created by the chain)
- rnd = round
Step-by-Step Pattern Instructions
Center and First Rounds
- Start: Ch 4, sl st into the first chain to form a ring.
- Rnd 1: Ch 3 (counts as first dc), work 2 dc into the ring, ch 2, *3 dc into the ring, ch 2; repeat from * twice more. Join with a sl st to the top of the beginning ch-3. (12 sts)
- Rnd 2: Sl st into the next dc and into the corner ch-2 sp. Ch 3, work 2 dc, ch 2, 3 dc all in the same corner sp. Ch 1, *work (3 dc, ch 2, 3 dc) in the next corner sp, ch 1; repeat from * twice more. Join with a sl st to the top of the beginning ch-3. (24 sts)
Expanding the Square
- Rnd 3: Sl st into the next 2 sts and into the corner ch-2 sp. Ch 3, work 2 dc, ch 2, 3 dc in corner. Ch 1, 3 dc in the next ch-1 sp, ch 1. *Work (3 dc, ch 2, 3 dc) in the next corner sp, ch 1, 3 dc in next ch-1 sp, ch 1; repeat from * twice more. Join with a sl st to the top of the beginning ch-3. (36 sts)
- Rnd 4: Sl st into the next 2 sts and into the corner ch-2 sp. Ch 3, work 2 dc, ch 2, 3 dc in corner. *Ch 1, 3 dc in each ch-1 sp across to next corner, ch 1, work (3 dc, ch 2, 3 dc) in corner. Repeat from * around. Join with a sl st to the top of the beginning ch-3. (48 sts)
- Finishing: Fasten off leaving a 6-inch tail. Pull the tail through the final loop and pull tight. Use your tapestry needle to weave the end through the back loops of the stitches on the reverse side to secure.
Care & Washing Instructions
- Hand wash your finished items in cool water with a mild detergent to preserve fiber integrity.
- Lay the item flat on a clean towel to air dry, reshaping it into a perfect square while damp.
- If the square appears slightly distorted, steam block it lightly by holding a steam iron a few inches above the surface without touching the yarn.
Pro Tips & Common Mistakes to Avoid
- Maintain consistent tension by ensuring your fingers hold the yarn with the same grip throughout the entire project.
- Use a stitch marker in the top chain of your starting ch-3 so you can easily identify where to join at the end of every round.
- Weave your yarn ends in multiple directions within the stitches to ensure they do not pull out after repeated washing.
- Adjust the size of the square by simply adding or subtracting rounds; remember that each additional round will require roughly 15% more yarn than the previous round.
Frequently Asked Questions
Can I use a magic ring instead of the chain-4 method?
Yes, a magic ring creates a tighter center, though the chain-4 method is often sturdier for beginners who might pull too hard on their yarn during the first round.
Why are my corners curling?
Curling usually occurs if your tension is too tight. Try using a crochet hook one size larger than the yarn label recommends to allow the stitches more room to lay flat.
Can I sell the squares I make from this pattern?
You are welcome to sell finished items made from this pattern, provided you credit the designer and use your own photographs for your listings.
How do I join multiple squares together?
You can join squares using a whip stitch with a tapestry needle or by working a single crochet join through the back loops of the edges of two adjacent squares.
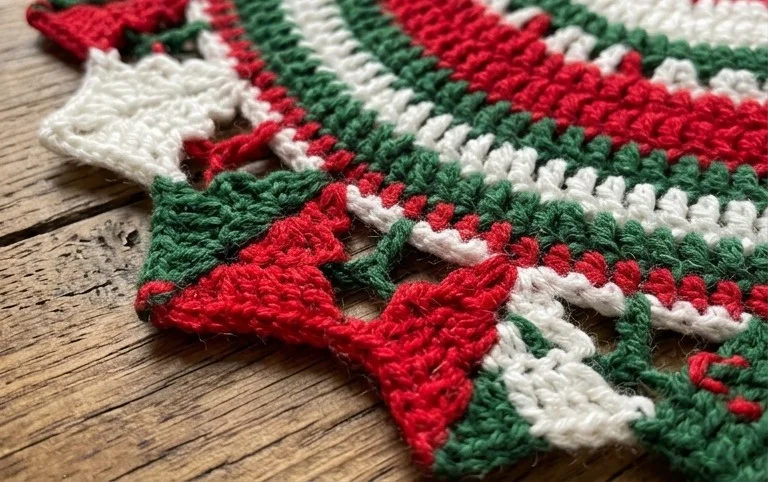
These squares look wonderful arranged in a long runner down the center of a dining table or placed individually under festive winter place settings. Try working the final round in a metallic gold thread if you want an extra touch of shimmer against the matte cotton yarn. Post a photo of your finished work on social media so others can see your color choices. You will find several other holiday projects and winter home decor ideas waiting for you elsewhere on our blog.