Easy Crochet Granny Square Tree Ornaments: Free Pattern
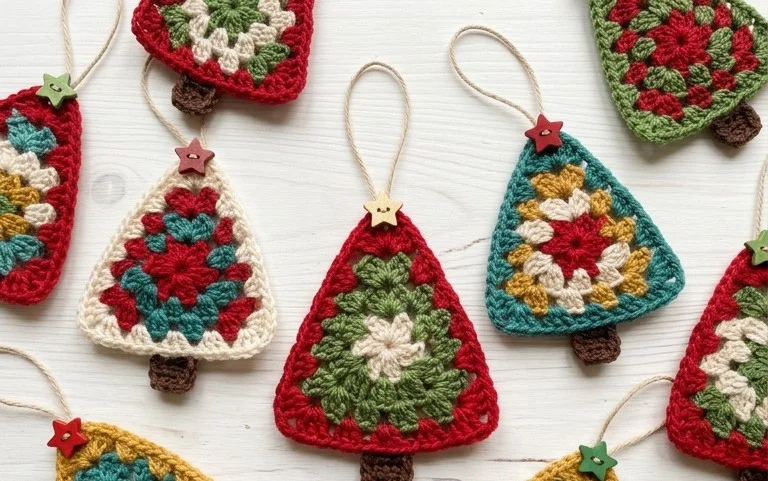
These tiny hanging squares bring a soft, handmade texture to your holiday branches, turning simple worsted yarn into lightweight decorations that hold their shape season after season. They feel substantial in your hand yet remain light enough to hang on thin pine needles without weighing them down. Beginners appreciate the rhythmic nature of the double crochet clusters, as this project serves as a low-stress way to master consistent tension while avoiding the frustration of complex stitch patterns. You will learn the exact sequence for sharp, clean corners and how to create a uniform finish for every ornament you make.
Why You’ll Love This Pattern
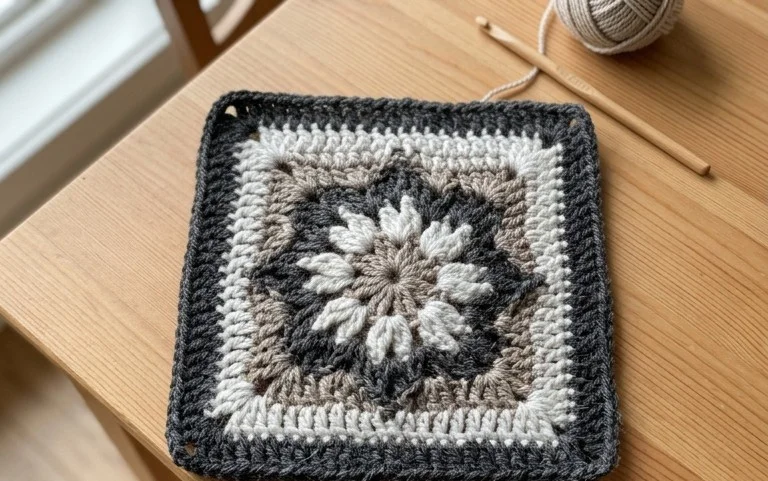
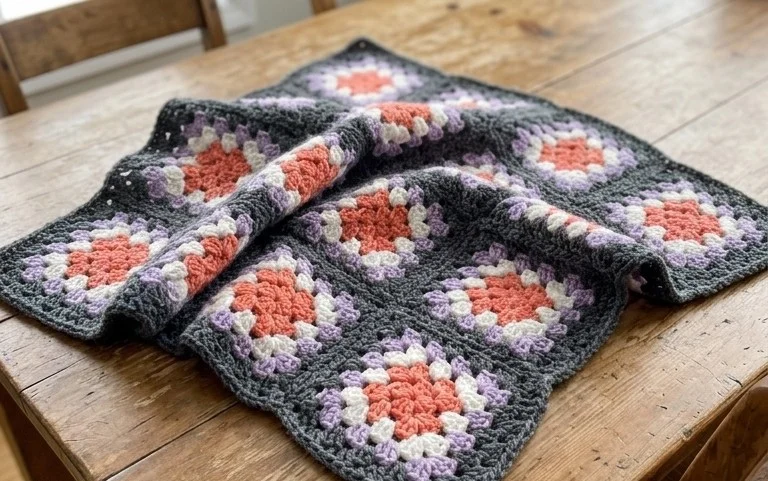
The Classic Crochet Granny Square is the fundamental building block of crochet design. This specific pattern creates a traditional, four-round square that measures approximately 4 inches wide when worked in worsted weight yarn. Because it uses double crochet clusters, it works up quickly and provides a meditative, repetitive rhythm that is ideal for practicing tension control. You can easily join these squares together to create anything from small coasters to large-scale blankets or garment panels, making it an essential skill for every crafter’s repertoire.
This pattern helped me finally understand how to keep my corners square instead of having them pull into a circle. The stitch counts are clear, and I finished my first stack of squares in just one evening.
— Sarah, beginner crocheter
Pattern Overview & Skill Level
- Skill Level: Beginner
- Approximate Time: 30 minutes per square
- Construction: Working in rounds from the center outward
- Finished Dimensions: 4 inches by 4 inches
Materials & Supplies Needed
- Yarn: Worsted weight (#4), 100% acrylic or wool blend, approximately 15-20 yards per square.
- Hook Size: 5.0 mm (H-8).
- Notions: Tapestry needle for weaving in ends, scissors, and optional stitch markers to identify the start of the round.
- Yarn Substitutions: You can use DK weight yarn for a smaller, tighter square, or bulky weight yarn for a larger square. Note that changing the weight requires adjusting the hook size to maintain proper stitch definition.
Stitch Guide & Abbreviations (US Terms)
- ch = chain
- st = stitch
- sl st = slip stitch
- dc = double crochet
- dc cluster = 3 double crochet stitches worked into the same space
- sp = space
- MR = magic ring (or ch 4 and sl st to join for a closed center ring)
Step-by-Step Pattern Instructions
Granny Square Body
- Rnd 1: Start with a magic ring. Ch 3 (counts as first dc), work 2 dc into the ring. Ch 2, 3 dc, ch 2 into the ring 3 times. Sl st to the top of the beginning ch 3 to join. (12 dc, 4 ch-2 spaces)
- Rnd 2: Sl st into the next 2 sts and into the first ch-2 corner space. Ch 3, (2 dc, ch 2, 3 dc) in the same corner space. Ch 1, skip 3 dc, (3 dc, ch 2, 3 dc) in the next ch-2 space. Repeat from * to * 3 times total. Ch 1, sl st to the top of the beginning ch 3. (24 dc, 4 ch-2 corner spaces, 4 ch-1 side spaces)
- Rnd 3: Sl st into the next 2 sts and into the next ch-2 space. Ch 3, (2 dc, ch 2, 3 dc) in the same corner space. Ch 1, 3 dc in the next ch-1 space, ch 1, (3 dc, ch 2, 3 dc) in the next corner space. Repeat from * to * around. End with ch 1, 3 dc in last ch-1 space, ch 1, sl st to join. (36 dc, 4 ch-2 corner spaces, 8 ch-1 side spaces)
- Rnd 4: Sl st into the next 2 sts and into the corner space. Ch 3, (2 dc, ch 2, 3 dc) in the corner space. [Ch 1, 3 dc in the next ch-1 space] 2 times, ch 1, (3 dc, ch 2, 3 dc) in the corner space. Repeat from * to * around. End with ch 1, 3 dc in next 2 ch-1 spaces, ch 1, sl st to join. (48 dc, 4 ch-2 corner spaces, 12 ch-1 side spaces)
Finishing
Fasten off the yarn, leaving a 6-inch tail. Use a tapestry needle to weave the yarn tail securely into the back of the double crochet stitches. Block the square by lightly steaming it or pinning it flat on a blocking board to ensure all sides are equal and the corners are sharp.
Care & Washing Instructions
- Machine wash your finished item on a gentle cycle in cold water using a mild detergent.
- Lay the item flat on a clean towel to dry completely away from direct heat sources.
- Avoid wringing or twisting the fabric, as this can distort the shape and stretch the stitches.
Pro Tips & Common Mistakes to Avoid
- Maintain consistent tension by ensuring your yarn wraps around your fingers with the same amount of drag for every stitch.
- Place a stitch marker in the top of your beginning ch-3 at the start of each round to avoid losing your place when joining.
- Weave in your ends by traveling through the underside of the stitches in two different directions, which prevents the yarn from working itself loose over time.
- Adjust the size of the square by adding or omitting rounds; each additional round increases the width of the square by approximately 1 inch when using worsted weight yarn.
Frequently Asked Questions
Can I use different yarn weights in the same project?
Yes, but be aware that changing weights will alter the size and drape of the final piece, and you must adjust your hook size to match the yarn manufacturer’s recommendations.
Why do my edges look wavy instead of straight?
Wavy edges usually occur when your tension is too loose or you are adding too many chain stitches between your dc clusters. Check your stitch counts against the pattern rows to ensure you are not adding extra stitches.
Is this pattern suitable for complete beginners?
This pattern is perfect for beginners because it relies entirely on double crochet stitches and chain spaces, which are the fundamental building blocks of almost all crochet projects.
Can I sell items made from this pattern?
You are welcome to sell finished items created from this pattern. However, you must not use the provided pattern text or images on your own website or shop listings.
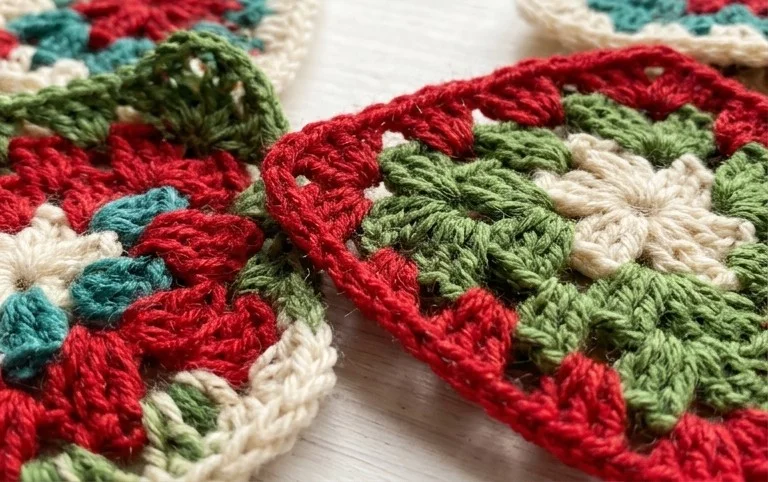
Each completed ornament looks lovely hanging solo, but you can also string them together into a festive garland by using a length of jute twine or ribbon. Try using metallic yarn held along with your main color to give these squares a subtle holiday shimmer that catches the living room lights. Sharing your finished work on social media helps other makers find inspiration for their own seasonal crafting projects. Check out the rest of the blog for more free patterns to fill your handmade collection.