Gradient Textured Granny Square: Free Beginner Pattern
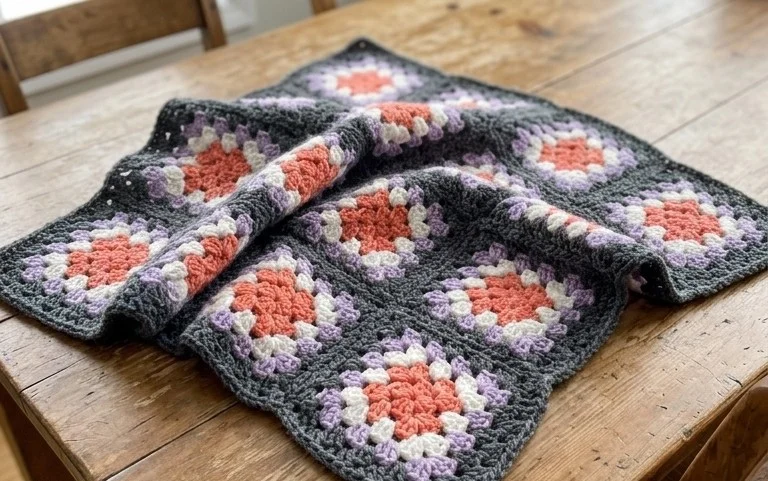
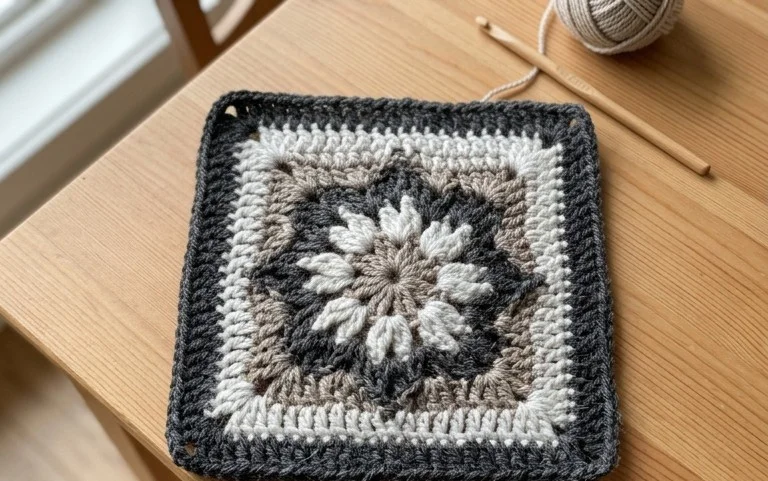
Soft cotton yarn loops into a dense, pillowy fabric that feels substantial in your hands. This square uses a simple puff stitch to create a raised surface that shifts colors across each row. Beginners will enjoy how quickly the repetitive rounds grow, while experienced makers appreciate the meditative flow of the stitches. You will learn to incorporate color changes seamlessly during the final round of each motif. This project works well for people who want to practice joining techniques without complex assembly instructions. It is a satisfying way to organize a colorful pile of leftover yarn into a functional bag.
Why You’ll Love This Pattern
The classic crochet granny square bag relies on a timeless construction method that transforms simple motifs into a functional accessory. This project is ideal for using up leftover yarn scraps, as each square requires only a small amount of material. You will practice join-as-you-go techniques, which significantly reduces the amount of time spent on finishing and weaving in ends at the end of the project. The finished bag is sturdy enough for daily errands and features a forgiving design that does not require precise gauge, making it a stress-free project for relaxing evenings.
I managed to finish this bag over a single weekend using stash yarn. The instructions are very clear, and the construction is much more logical than other tutorials I have tried in the past.
— Sarah, hobbyist crocheter
Pattern Overview & Skill Level
- Skill Level: Beginner
- Approximate Time: 6–8 hours
- Construction: Thirteen individual granny squares joined together to form a box-like structure with two straps
- Finished Dimensions: 12 inches wide by 12 inches tall, excluding straps
Materials & Supplies Needed
- Yarn: Worsted #4 weight, 100% cotton or acrylic blend, approximately 450 yards total. Using 100% cotton helps the bag maintain its shape under weight.
- Hook Size: 5.0 mm / H-8
- Notions: Tapestry needle for weaving in ends, a pair of sharp scissors, and locking stitch markers to hold squares together during assembly.
- Yarn Substitutions: Wool yarn can be substituted for a softer feel, but be aware that it may stretch significantly when the bag is filled. Cotton yarn is recommended for structural integrity.
Stitch Guide & Abbreviations (US Terms)
- ch: Chain
- st/sts: Stitch/Stitches
- sl st: Slip stitch
- dc: Double crochet
- sc: Single crochet
- cl: Cluster (3 dc worked into the same space)
- sp: Space
- rnd: Round
Step-by-Step Pattern Instructions
Granny Square (Make 13)
- Rnd 1: Start with a magic ring. Ch 3 (counts as first dc), 2 dc into ring, ch 2, 3 dc, ch 2 3 times. Sl st to top of ch 3 to join. (12 sts)
- Rnd 2: Sl st into the next 2 sts and into the ch-2 sp. Ch 3, 2 dc, ch 2, 3 dc in same sp. Ch 1, (3 dc, ch 2, 3 dc) in next ch-2 sp 3 times. Ch 1, sl st to join. (24 sts)
- Rnd 3: Sl st into the next 2 dc and into the ch-2 sp. Ch 3, 2 dc, ch 2, 3 dc in same sp. Ch 1, 3 dc in next ch-1 sp, ch 1, (3 dc, ch 2, 3 dc) in corner sp 3 times. Ch 1, 3 dc in next ch-1 sp, ch 1, sl st to join. (36 sts)
- Rnd 4: Repeat Rnd 3 to increase square size, working 3 dc into each side sp and corner sequence. (48 sts)
Assembly
Lay out your 13 squares in a cross formation: four squares for the front panel, four for the back panel, one for the bottom, and one for each side (two total), plus two remaining for the straps. Use a whip stitch to join the squares through the back loops only to create a clean seam. Once the body is sewn, attach the two final squares to the top edges to form the shoulder straps.
Edging
Join yarn at any corner of the bag opening. Work one round of sc evenly around the entire top edge of the bag and the straps. Work 2 sc in each corner to ensure the fabric lays flat without pulling. Join with a sl st to the first sc and fasten off.
Care & Washing Instructions
- Hand wash your finished bag in cool water with a mild detergent to prevent the fibers from stretching.
- Lay the bag flat on a clean towel to air dry, ensuring the straps are positioned so they do not sag while wet.
- Reshape the bag gently with your hands while it is still damp to ensure the granny squares remain square and the seams are aligned.
Pro Tips & Common Mistakes to Avoid
- Maintain consistent tension throughout every square. If your tension changes between squares, some will appear larger than others, which makes joining the edges difficult.
- Use a stitch marker at the beginning of each round to avoid losing your place. This is especially helpful when working with dark-colored yarns where the stitches are harder to see.
- Weave in your ends as you go. Leaving thirteen squares worth of ends until the very end of the project makes finishing tedious and prone to error.
- If you wish to make the bag larger, add one additional round of dc clusters to each square. Note that this will increase the total yardage required by approximately 20 percent.
Frequently Asked Questions
Can I use a different yarn weight for this pattern?
Yes, you can use a lighter or heavier yarn, but you must adjust your hook size to match the yarn label. A thinner yarn will result in a smaller bag, while a thicker yarn will produce a larger, bulkier bag.
Is this project suitable for a total beginner?
This project is excellent for beginners who have mastered the basic double crochet and chain stitches. The repetitive nature of the granny square helps build muscle memory quickly.
How do I keep the bag from stretching when I carry items?
Using a cotton yarn and ensuring your tension is firm will minimize stretching. You can also sew a fabric lining inside the bag to provide additional structural support.
Am I allowed to sell bags made from this pattern?
You are welcome to sell finished items created from this pattern. Please provide credit to the designer and use your own original photographs when listing your items online.
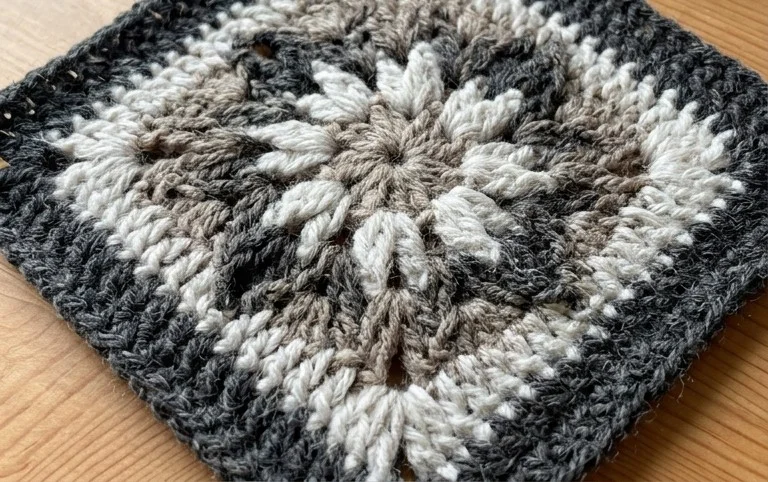
Your new handmade bag is ready for errands or a trip to the market with its durable construction and unique raised texture. Change the visual impact by switching to a monochrome palette or using a variegated yarn for a faster color gradient effect. Tag your project photos online so others can see how your color choices turned out. Check the rest of the blog for more patterns that use basic stitches to create useful items for your home and daily life.